Pineapple Upside Down Cake, Again

Pineapple Upside Down Cake | apt 2b baking co
pineapple upside down cake | apt 2b baking co
Pineapple Upside Down Cake | apt 2b baking co

I have a thing for upside down cakes, and a special love for pineapple - especially in the winter. They are so bright and tart and juicy and as much as I love citrus this time of year, they are a nice change of pace. I guess I even made a pineapple upside down cake last year right around this time (which came as a surprise when I went to look it up). Turns out I am more predictable than I thought.

This cake is quite simple with no secret whiz-bang flavorings, and even though I pretty much always add lemon zest and vanilla to fruit cakes, I resisted the urge to add anything to this one and I can say that its totally delicious without. I also loved the sunny yellow, translucent pineapple slices as is, but some vanilla bean seeds would be a very pretty addition. Maybe for next January’s cake.

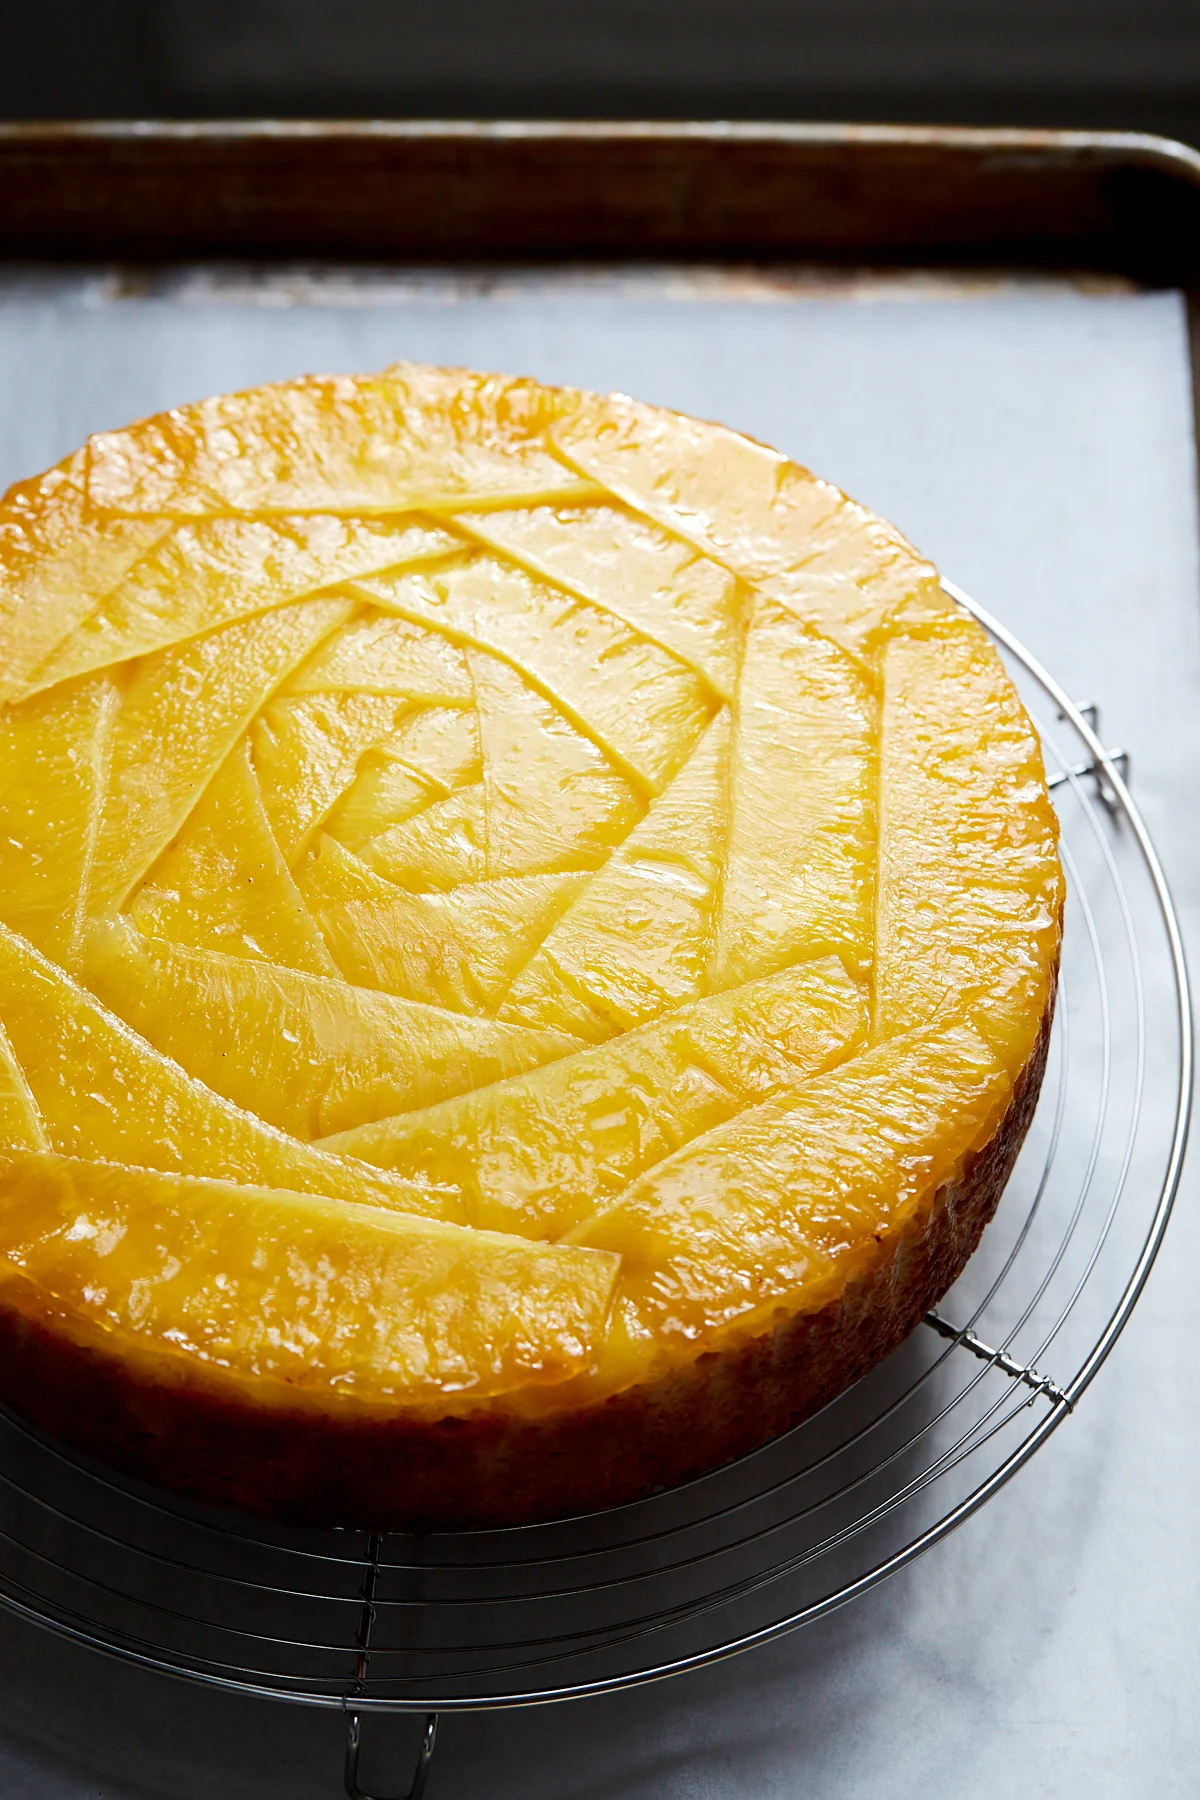
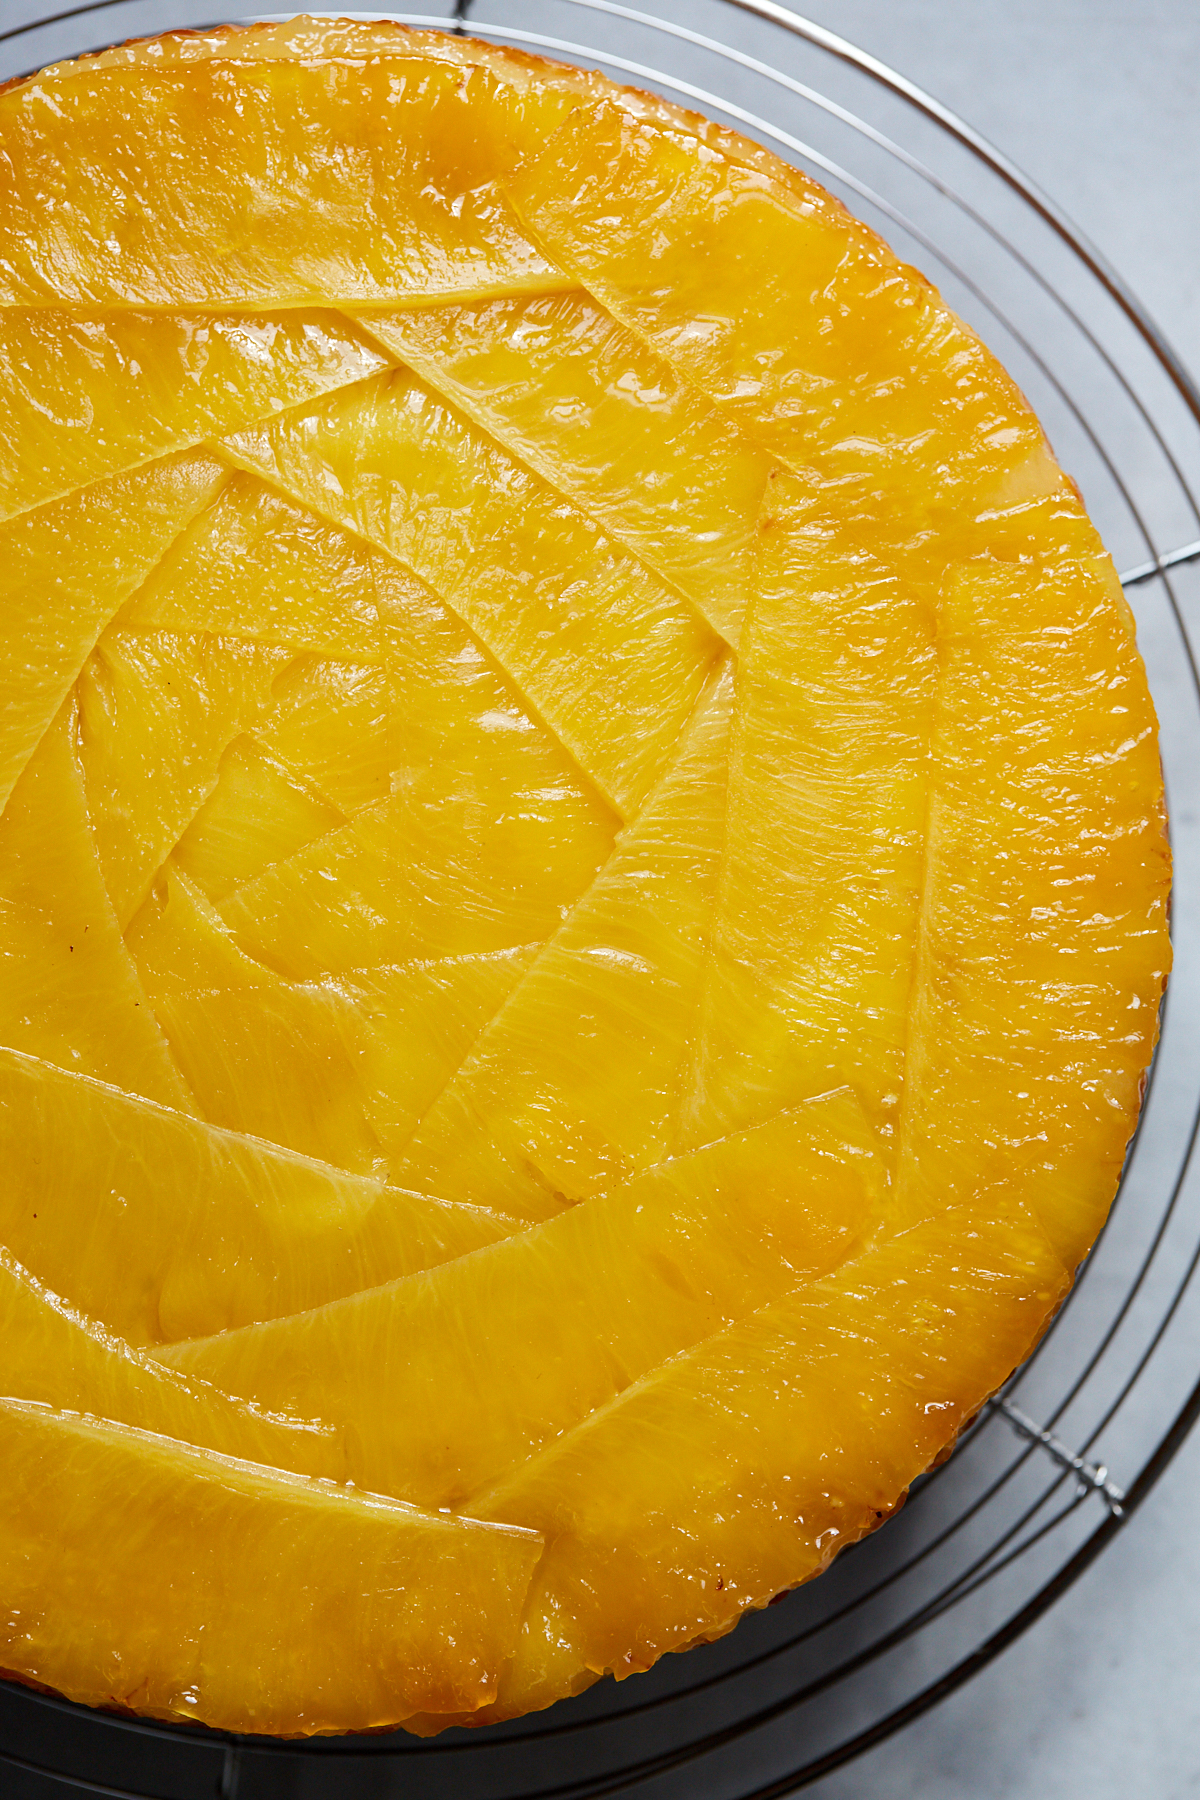
Take the time to cut and slice a whole pineapple here, the long slices of pineapple make the coolest design, don’t they?! The additional step of poaching the sliced pineapple might seem a little fussy, but it makes the fruit pliable and tender so that the slices fit together snuggly in the bottom of the tin and no sneaky batter peeks through the top of the finished bake.


Pineapple Upside Down Cake

lightly adapted from Donna Hay

makes one 9-inch (23cm) cake

I made this pretty close to as written, but made quite a few tweaks to the method so feel free to click through the link above if you’d like to see the original. The recipe, curiously, didn’t include any salt so I added it, swapped in a higher percentage of almond meal, and I reduced the total sugar by about 1/4 (from 385g to 300g). The finished cake was still nice and moist and plenty sweet for my palate. I also took a few extra minutes to reduce the pineapple poaching liquid to make a more concentrated syrup. I made this cake using gram measurements, and the cup equivalents were so wonky and confusing I decided to not include them here. I highly suggest baking by weight rather than volume - less dishes, more precision.

450g pineapple, cored and thinly sliced lengthwise (about 1 medium pineapple)

360ml (1 1/2 cups) water

300g granulated sugar

190g unsalted butter, softened

3 large eggs, at room temperature

280g all purpose flour

80g almond meal

1 1/2 teaspoons baking powder

1/2 teaspoon baking soda

1 teaspoon kosher salt

240ml (1 cup) buttermilk

Add the water, 100g (1/2 cup) sugar, and the sliced pineapple to a wide saucepan set over medium-high heat (I used a 3 qt saucier) Bring to a boil, turn down the heat slightly, and simmer the pineapple for 15 minutes. Carefully remove the pineapple to a sheet pan and arrange it in a single layer so it can cool. Turn the heat up to high and reduce the liquid in the pan to about 3/4 cup (180ml). Transfer to a liquid measuring cup and cool slightly.

Heat oven to 350ºF and butter a 9-inch cake pan with high sides. Line the sides of the pan with parchment paper and butter the paper.

Starting at the outside of the pan, layer the pineapple in slightly overlapping concentric circles, rounded sides facing out. Gently pour 1/2 of the cooled syrup over the top.

Stir the all purpose flour, almond meal, baking powder, baking soda, and salt together in a medium bowl.

In the bowl of a stand mixer fitted with the paddle attachment, combine the butter and 200g (1 cup) sugar. Beat on medium-high until light and fluffy, 5-7 minutes. Add the eggs one at a time, beating well after each addition. Add the flour mixture and the buttermilk. Mix on low until a few streaks of flour remain, and finish the mixing the last few strokes by hand with a rubber spatula making sure to scrape the bottom and sides of the bowl.

Spoon the batter over the pineapple and gently smooth the top. Tap the pan a few times on the counter to release any large air bubbles. Bake for about 60 minutes or until deep golden and a cake tester comes out clean.

Let the cake cool in the pan on a rack for 10 minutes, then invert onto a serving plate. Serve warm with the additional syrup, and some ice cream if you’re in the mood.


pineapple upside down cake | apt 2b baking co

Gingerbread Cookies

181220_GingerbreadZI4A8462 1.jpg
gingerbread cookies | apt 2b baking co

My favorite gingerbread cookies have been up on the site, but a little hidden within another post, for a long time. So, this year I decided to give them a little refresh and some new fun photos. These can be made into cookie ornaments too! Just make sure to bake them for an extra minute or two, until they are crisp and dark brown, and don’t forget to poke a hole in the cookies before baking. I love the contrast of the deep golden cookies and white icing so I tend to ice these guys really simply with lines and dots of royal icing and lots of sparkly sanding sugar.


Gingerbread Cookies with Royal Icing

makes about 3 dozen 3-inch cookies

adapted from Simply Recipes

3 1/4 cups (415g) all-purpose flour


3/4 teaspoon baking soda

2 teaspoons ground ginger


2 teaspoons ground cinnamon 

1/2 teaspoon ground cardamom

1/4 teaspoon finely grated nutmeg

1/4  teaspoon finely ground black pepper 

1/4  teaspoon allspice


1 teaspoon kosher salt


14 tablespoons (200g) unsalted butter, softened

1/2 cup (110g) packed dark brown sugar 

1 large egg


1/2 cup unsulfured molasses 


In a large bowl, whisk the flour, baking soda, salt and spices together. 

In a stand mixer, cream the butter and sugar together until light and fluffy. Add the egg, then the molasses and mix until well combined. With the mixer on low speed, gradually add the flour mixture and mix until thoroughly combined. Divide the dough in half, wrap each half in plastic and refrigerate for at least one hour before rolling.


Heat oven to 350ºF and line two baking sheets with parchment paper.

Working with 1/2 of the dough at a time roll the dough 1/8-1/4-inch thick on a lightly floured surface using a lightly floured rolling pin roll. Use a cookie cutter or stencil to cut out desired shapes then place them on the prepared baking sheets. For cookie ornaments, use a skewer to poke a hole through the top of the cookies before baking.
Bake for 8-10 minutes or until the edges of the cookies have just barely begun to brown. For cookie ornaments bake the cookies until they are lightly browned all over and firm to the touch. Cool the cookies on the sheet pans for a few minutes and then transfer to a cooling rack
to cool completely. Decorate as desired.

Royal Icing

1 pound confectioners sugar, sifted

6 tablespoons pasteurized egg whites

1 teaspoon lemon juice

1 teaspoon vanilla extract

pinch salt

For the Icing

In the bowl of a stand mixer fitted with the whisk attachment combine all of the ingredients. Whisk on low speed until the sugar is moistened, then turn the mixer up to medium and whisk until smooth and glossy. 

For piping lines and shapes you’ll want thick icing. When you lift the whisk out of the bowl the icing should flow in thick ribbons that will hold their shape when they fall into the bowl below. Add a bit more confectioner’s sugar to the mixture if necessary to achieve this texture. Fill a piping bag with the icing and have fun!

For flooding and complete coverage of the cookies you’ll want thinner icing that holds its shape for a few seconds, then melts into the icing in the bowl. Add a bit more water, one teaspoon at a time to achieve this texture. Color the icing as desired.

Use the icing right away or store in an airtight container, with a piece of plastic wrap pressed against the surface to prevent a skin from forming, in the refrigerator for up to 3 days. Stir until smooth before using. Color the icing as desired.,


Royal Icing Tips and Tricks

Fit a piping bag with a small round tip #1 or #2 to pipe lines and shapes and/or another piping bag with a slightly larger tip #3 or #4 for flooding. Fill each bag with the corresponding icing and have fun! Practice on a piece of parchment paper if you are nervous, but truly if you think you messed up - just cover your cookies with sprinkles! 

For the trees in this post I used the flooding icing to draw a line around the border of each cookie, then filled it in completely and sprinkled to my heart’s content. After the trees had dried slightly I went back and used the piping icing to draw the trunks. 

You can also use a spoon to cover the cookies with thinner flooding icing or dip them, have fun! Don’t worry to much about it!

If you are adding sanding sugar or sprinkles to your iced cookies you’ll want to add them just after you pipe the icing. Royal icing will develop a dry skin very quickly, so have your sprinkles at the ready.

If you’d like to pipe lines that sit on top on top of flooded cookies, let the flooding icing dry all of the way or the lines will melt into the flooded icing.

In any case make sure to let the cookies dry all of the way, uncovered, before stacking or packaging, I like to leave mine overnight.

gingerbread cookies | apt 2b baking co