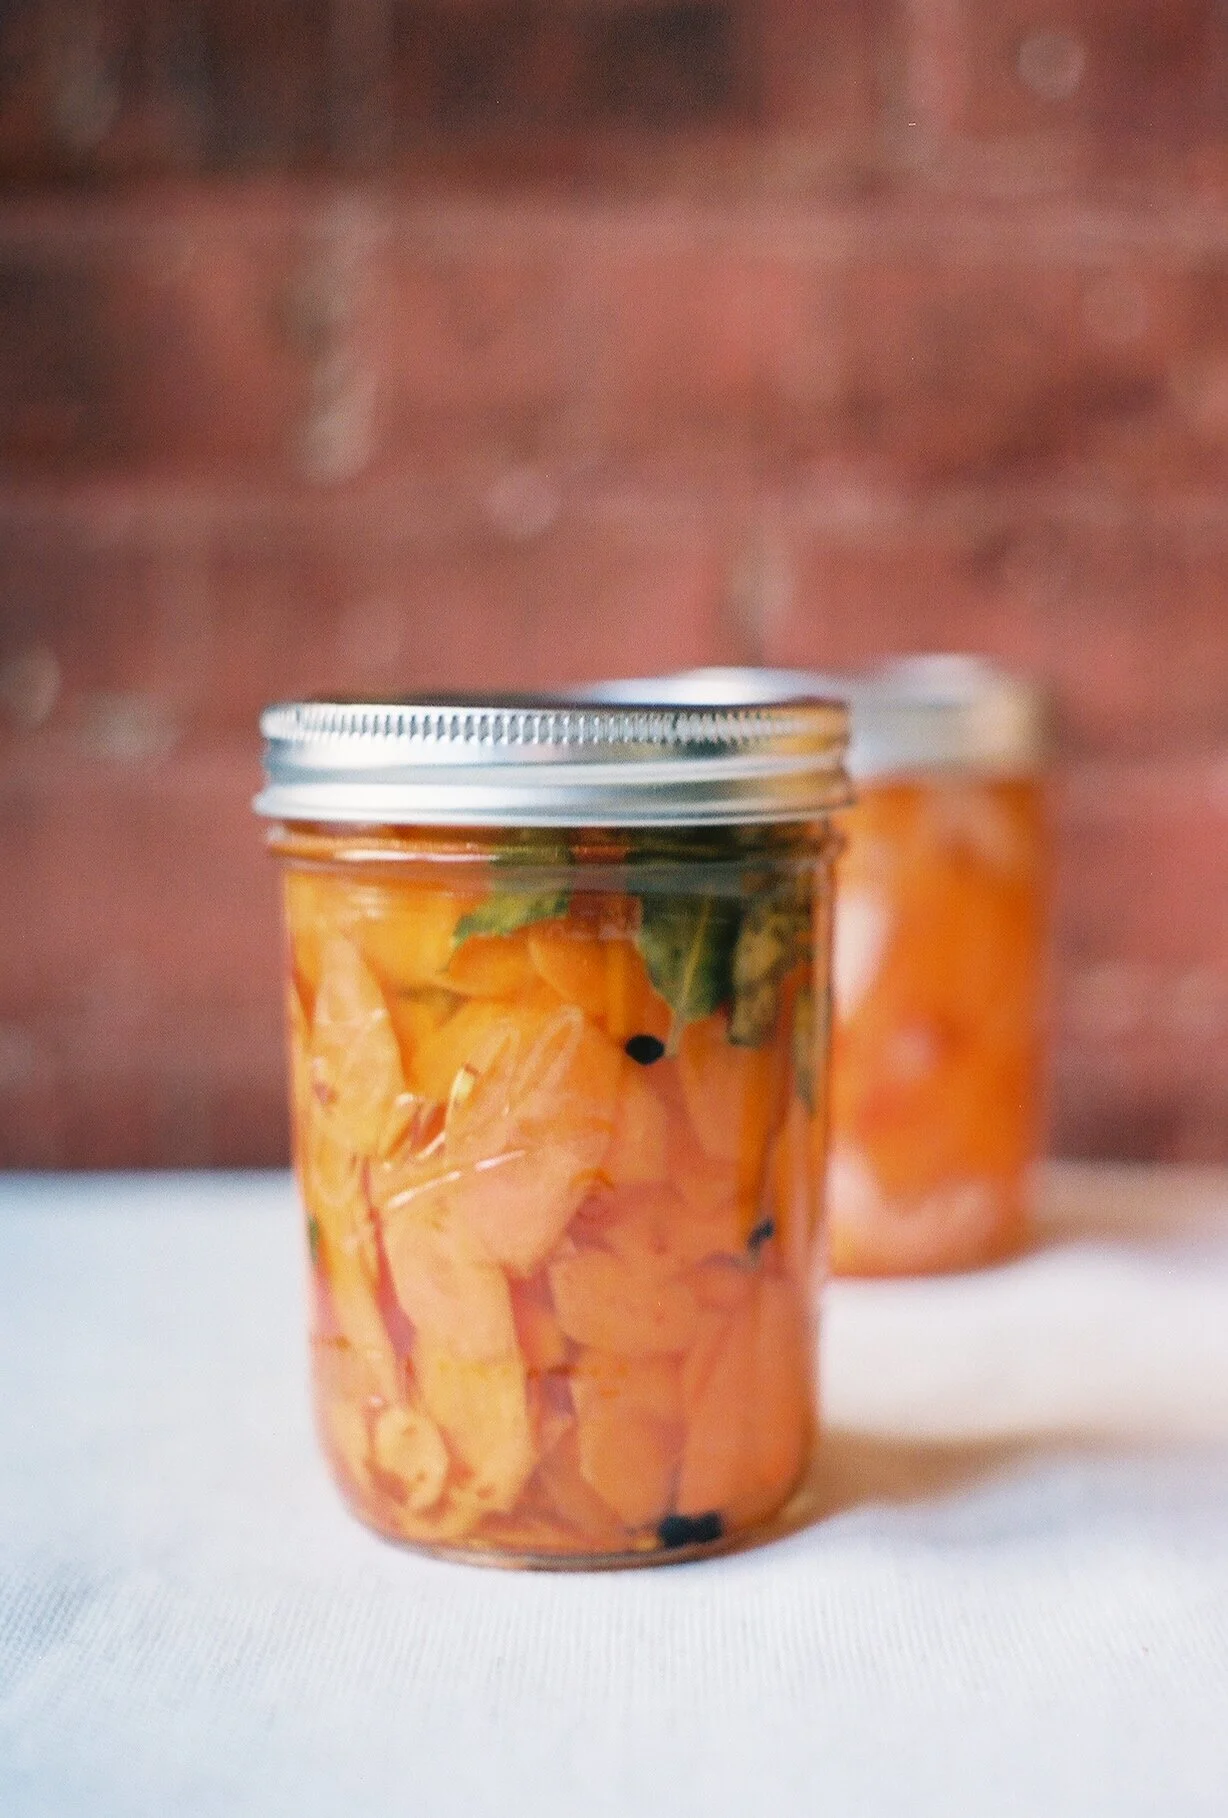
Quick Pickles

quick carrot pickles

Happy Friday everyone! I am planning on spending my weekend searching for tart cherries to make a jar or two of preserves and maybe if I am lucky I can find someone to drive me upstate to pick some raspberries. I'm also going to make some veggie spring rolls using these quick Vietnamese pickles I've been making lately thanks to my newfound obsession with Vietnamese flavors and Not Without Salt's bahn mi recipe. These pickles are simple to make and so tasty in all kinds of dishes from salads to sandwiches and they would make an excellent contribution to a picnic spread this weekend. What are you all up to?

Vietnamese Pickles
adapted from Simply Recipes

1lb carrots peeled and cut into 1/4'' matchsticks
1 lb daikon radishes peeled and cut into 1/4'' matchsticks
1 jalapeno without seeds or ribs, cut into thin matchsticks (optional)
1/2c plus 2t sugar
1t salt
1 1/4c rice vinegar
1 c warm water (warm enough to easily dissolve sugar)
About 3 pint jars

1. Place the carrots, daikon, 2t sugar and 1t salt in a large bowl. With your hands, massage the sugar and salt into the veggies until they are soft and pliable, about 3min. Transfer them to a colander, rinse with cold water and drain well.

2. In another bowl mix the remaining sugar, vinegar and warm water until the sugar dissolves.

3. Pack the carrots and daikon (and jalapeno if you'd like some heat) into clean sterilized jars and pour in the brine to cover the veggies. Refrigerate and let sit overnight before eating.

These pickles are not shelf stable and should be stored in the fridge where they will last 4 to 6 weeks.

For another easy pickling method, check out this great post from Food in Jars, my go-to for all things jar related. I used her method for the jar pictured with peppercorns, red pepper flakes and bay leaves. They are mighty tasty too.

Honey Oat Scones

honey oat scones

If I had to choose, I would say that scones are my favorite jam delivery vehicle. Sure, you could spread it on toast or make it into a sandwich with some peanut butter, but for true jam appreciation, scones win every time. I am partial to simple scones without dried fruit or nuts and these subtly sweet numbers sure fit the bill. I toasted the oats before adding them to the dry ingredients which gave them so much toasty, delicious flavor that I am going to try toasting some oats for my next batch of oatmeal cookies.

Honey Oat Scones

yield, about 8 scones

1 1/2c old fashioned oats

1/4c buttermilk

1/4c heavy cream

1/4c honey

1 egg

1 1/2c flour

2t baking powder

1/4t baking soda

1/2t salt

10T cold unsalted butter, cut into small cubes

Preheat oven to 375º

1. Evenly spread the oats onto a baking sheet and slide them into the oven to toast until fragrant and light brown (7-9 minutes). After they have cooled, remove 2T to sprinkle on top of the scones. Turn up the oven to 450 degrees.

2. In small bowl or measuring cup, whisk the buttermilk, heavy cream, honey and egg.

3. In a large bowl mix the flour, oats, baking powder, baking soda, and salt. Using a fork or pastry cutter, cut the cold butter into the mixture until it resembles a coarse meal with a few larger lumps of butter.

4. Make a well in the center of the mixture and pour in the milk mixture, gently stir until a cohesive dough forms, being careful not to over mix.

5. Turn the dough out onto a lightly floured board and pat 1'' thick. Use a round cutter or bench scraper to cut out your scones. If you have any scraps, gently press them together and cut again.

6. Place the cut scones on a parchment lined baking sheet about 2'' apart, brush the tops with heavy cream, and sprinkle with the reserved oats. Bake the scones until golden (12-14 minutes) and cool slightly before eating.

These are best the day that they are baked, but you can store them at room temperature in an airtight container for a day or two.

rhubarb cherry jam