Yeast Raised Waffles

waffles

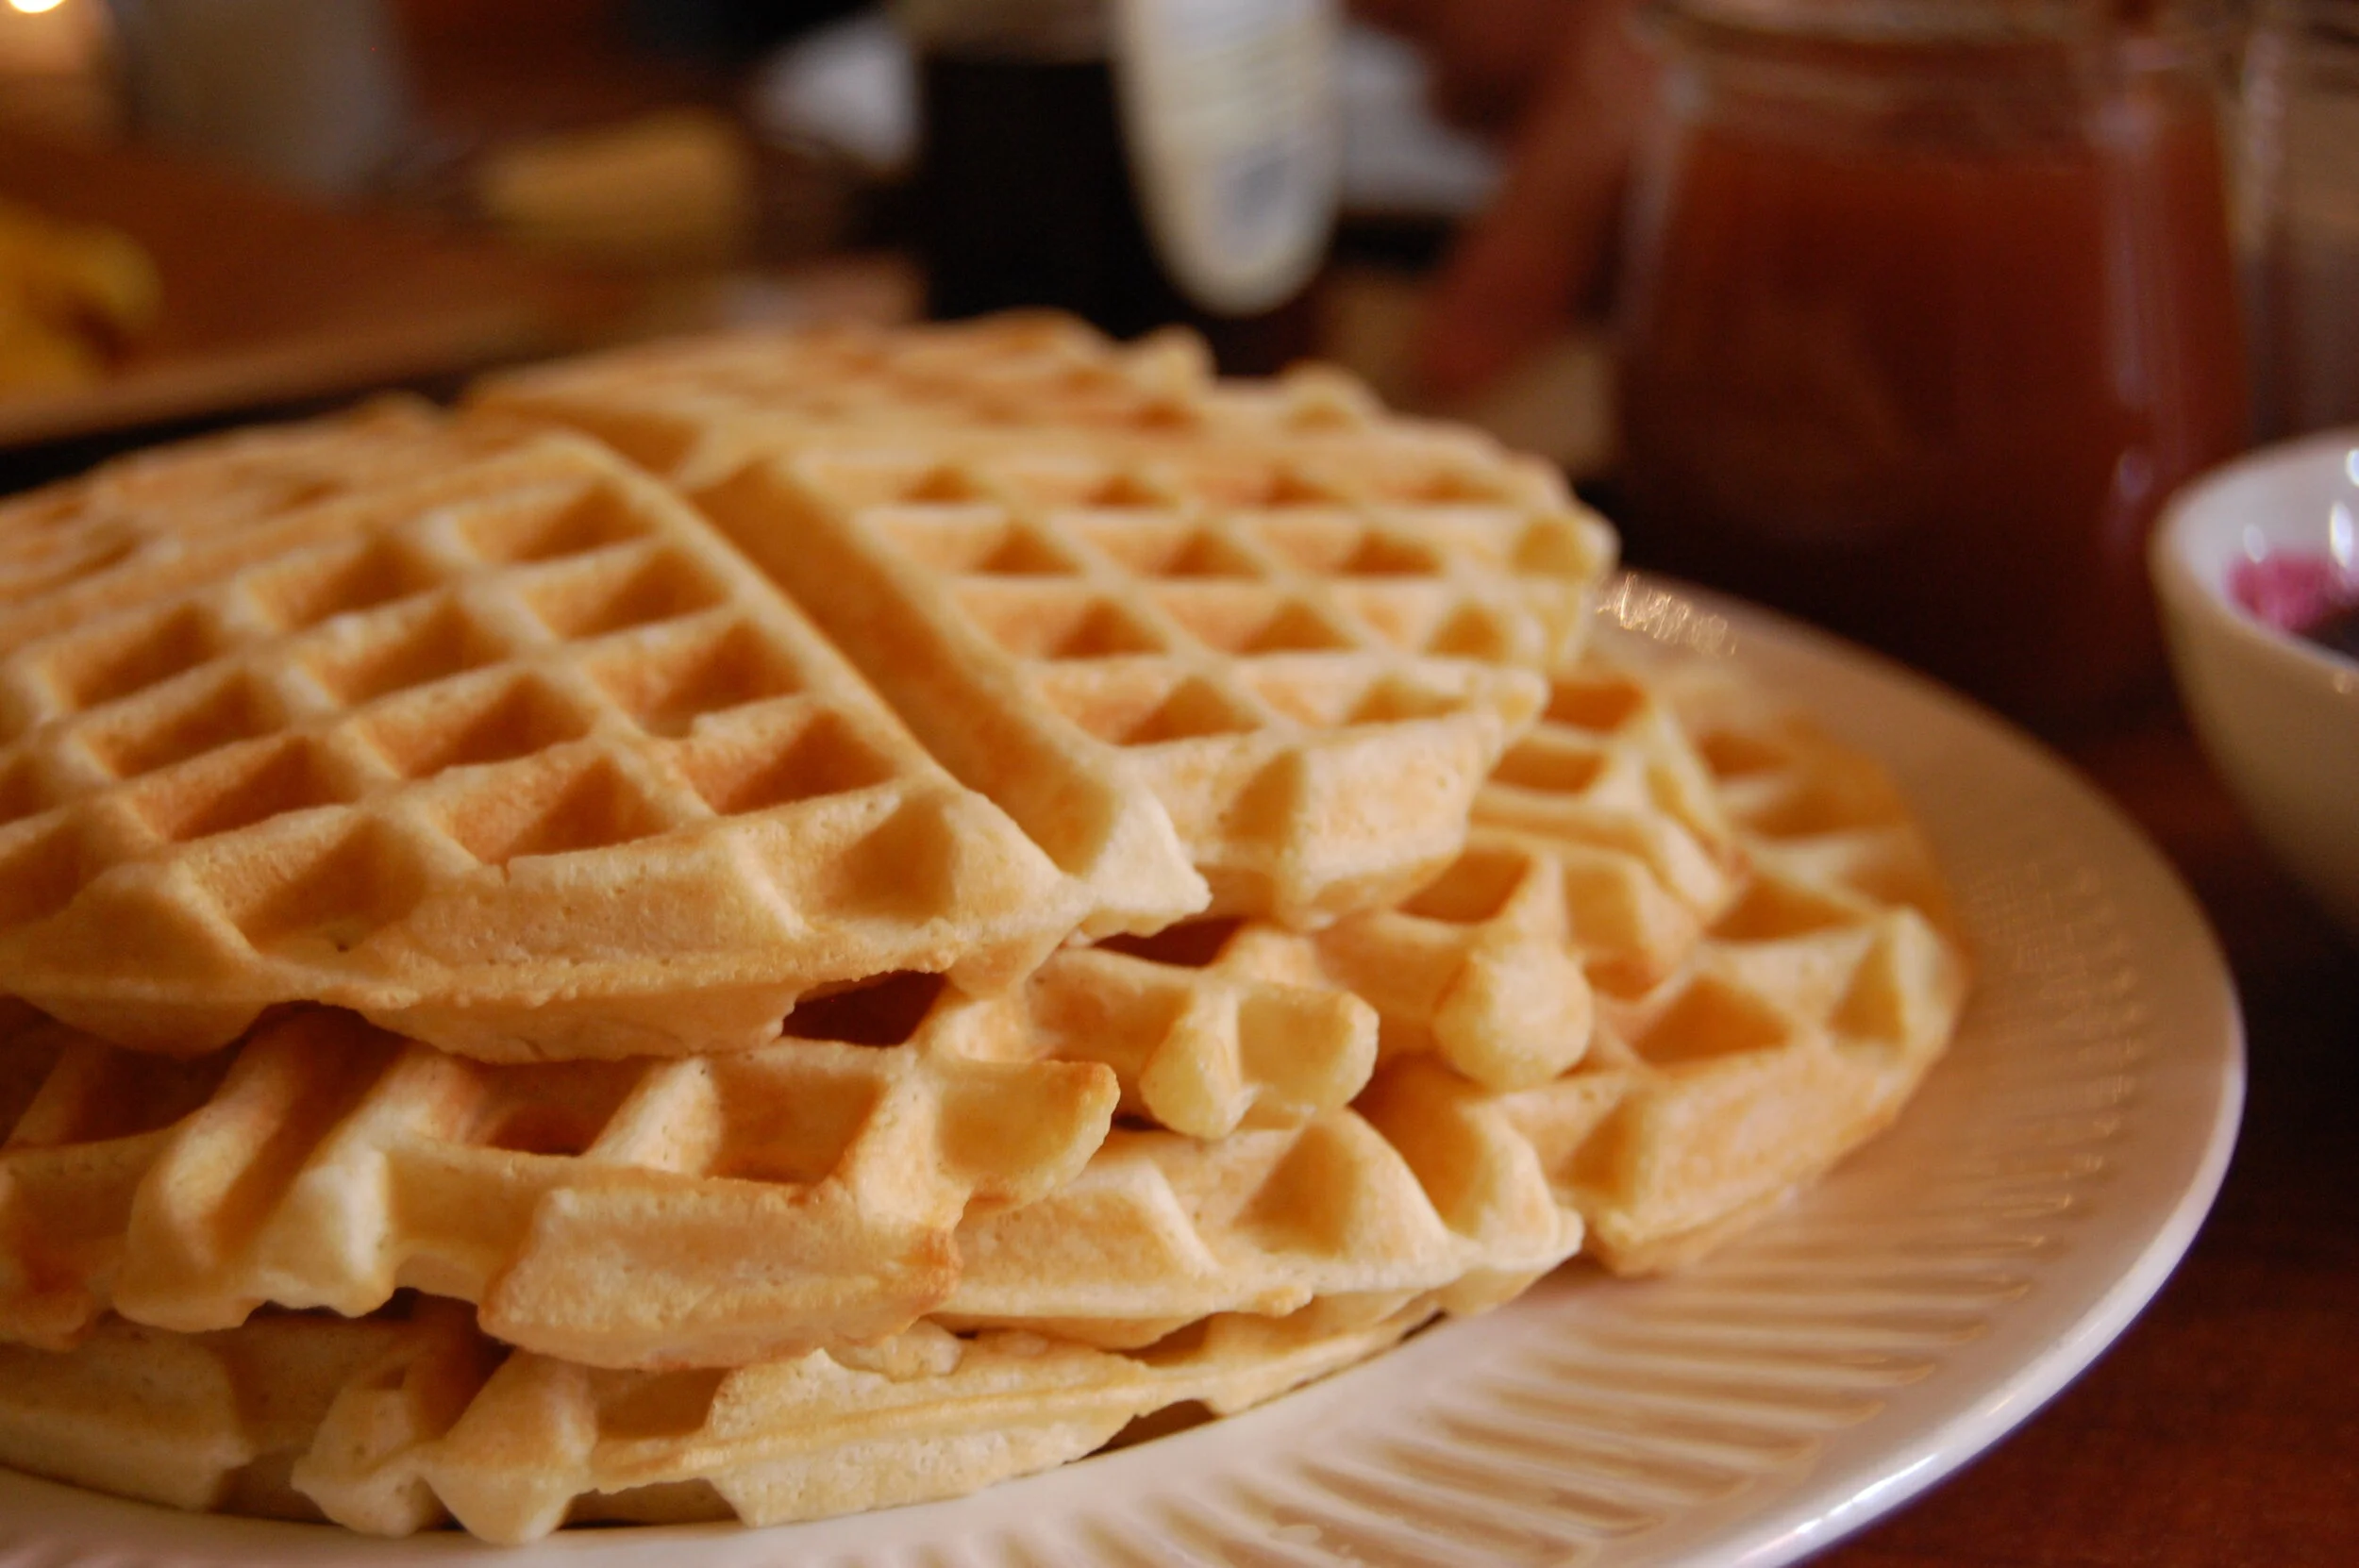
I haven't been very good at sleeping in since I started working early mornings at the bakery. My one and only, on the other hand, is a champion morning sleeper. Most Saturdays I get up an hour or two before him to tiptoe around our apartment, make a big pot of coffee and do a little breakfast scheming. Last weekend I started my scheming a little early because I knew that I wanted these most delicious waffles as a special treat, and I knew that the batter needed an overnight rest. You see, these babies are raised with yeast which gives them the most incredible flavor and light, crisp texture. Don't let the yeast dissuade you because the batter comes together so quickly and easily. Then the next morning you can give yourself a few extra cozy minutes in bed (or if you are like me, force yourself to stay in bed for a few minutes) and when you're ready for breakfast, stir some eggs and baking soda into your batter, heat up your waffle iron, and most likely eat more waffles than you intended. I ate three.

Marion Cunningham's Yeast Raised Waffles

adapted from Orangette

1/2c warm water

1 package (2 1/4 tsp) dry yeast

2 cups whole milk, warmed (full disclosure, I used almond milk here and I don't think these waffles suffered one bit)

1/2c unsalted butter, melted and cooled

1t salt

1t sugar

2c all purpose flour

2 large eggs, lightly beaten

1/4t baking soda

1. Pour the water into a large mixing bowl, then sprinkle the yeast over top and let sit for about 5 minutes to give the yeast a chance to dissolve

2. Add the milk, butter, flour, salt and sugar to the yeast mixture. Whisk until smooth. Cover bowl with plastic and let the mixture sit overnight at room temperature.

The Next Morning

1. Heat your waffle iron and while it's heating mix the beaten eggs and baking soda into the waffle batter.

2. Cook the waffles according to your machine's specifications. I have this model that I lovingly call Tina Fey (she was in the hardware store when my bf and I bought it!). Anyway, for my machine, I use a full 1/3c of batter and it works like a charm. Cook until golden and crisp and douse in maple syrup or alternate worthy topping.

A Special Cake for a Special Lady

birthday-cake_8856728361_o.jpg

One of my nearest and dearest is getting hitched in just a few short months and I have been given the honorable task of making the wedding cake. Needless to say, I am pretty excited to be part of the big day! She is marrying her betrothed on her family's ranch just outside of Austin, TX and it is shaping up to be a boot-scootin' good time. When her lovely aunts and cousin decided to throw her an engagement tea I immediately offered to make a mini wedding cake so I could test my recipes with some folks in my target audience. The bride requested a vanilla cake with vanilla frosting, so I turned to the incredible pound cake from Saveur that I have made loads of times and my standby vanilla buttercream that I know she loves. Then I filled the cake with a thin layer of raspberry preserves mixed with fresh raspberries to cut the sweetness and add a pretty pink surprise in the middle. Well, it was a big hit and all of the ladies at the party told me they can't wait to eat it again at the wedding!

If you aren't feeling ambitious enough to make a layer cake, this pound cake is great on its own or with fresh fruit and whipped cream or maybe even a little chocolate sauce if that's what you're in the mood for. Use the best butter, eggs, and vanilla you can afford, this cake is so simple that quality ingredients really do make a difference.

Vanilla Pound Cake

adapted from Saveur

12 oz softened butter

3c flour

1t baking powder

1/2 t salt

1c milk, room temperature

1T vanilla extract

3c sugar

6 large eggs, room temperature

1. Heat oven to 325 and generously butter and flour a 10'' tube pan*. Pat out any excess flour and make sure the entire inside surface of the pan is covered, no one likes a stuck, broken cake

2. Sift the flour, baking powder, and salt together. Combine the milk and vanilla extract in a measuring cup

3. In the bowl of a standing mixer cream butter until light and fluffy, about 2 minutes. With the mixer on med-low speed, gradually pour in the sugar, scrape down the bowl and beat until smooth, light and fluffy, about 3 more minutes.

4. Add the eggs, one at a time, to the butter and sugar mixture beating for 15 second before adding another and scraping down the bowl often.

5. Reduce the speed to low and alternately add the flour and milk mixtures in three batches, beginning and ending with the flour. When there are still a few streaks of flour left in the batter, take it from the mixer and finish the mixing by hand.

6. Pour into the prepared pan and firmly tap to remove any air bubbles. Bake until light golden, about 75 minutes. Let the cake cool in the pan for 30min, then invert onto a rack to cool completely before slicing.

This cake is awesome the next day, or even two or three days after you bake it. I baked my cake on a Friday and served it on a Sunday and it was still moist and delicious. It also really doesn't need any frosting, but if you would like to make a layer cake as I did, I have provided a great simple vanilla bean buttercream below.

*I multiplied this recipe 1.5 times and baked 3, 7'' layers and 4, 6'' layers to make my two tiered mini wedding cake

Simple Vanilla Bean Buttercream

1 lb softened butter

2 lbs sifted confectioner's sugar

1 vanilla bean, scraped

1t vanilla extract

1/4-1/2 cup room temp milk

big pinch salt

1. Cream the butter, salt and sugar together until very light and fluffy, about 5 min.

2. Add the vanilla bean and extract, then slowly stream in the milk until you reach your desired consistency

Here is a great photo tutorial on putting together a layer cake from my girl Martha.