
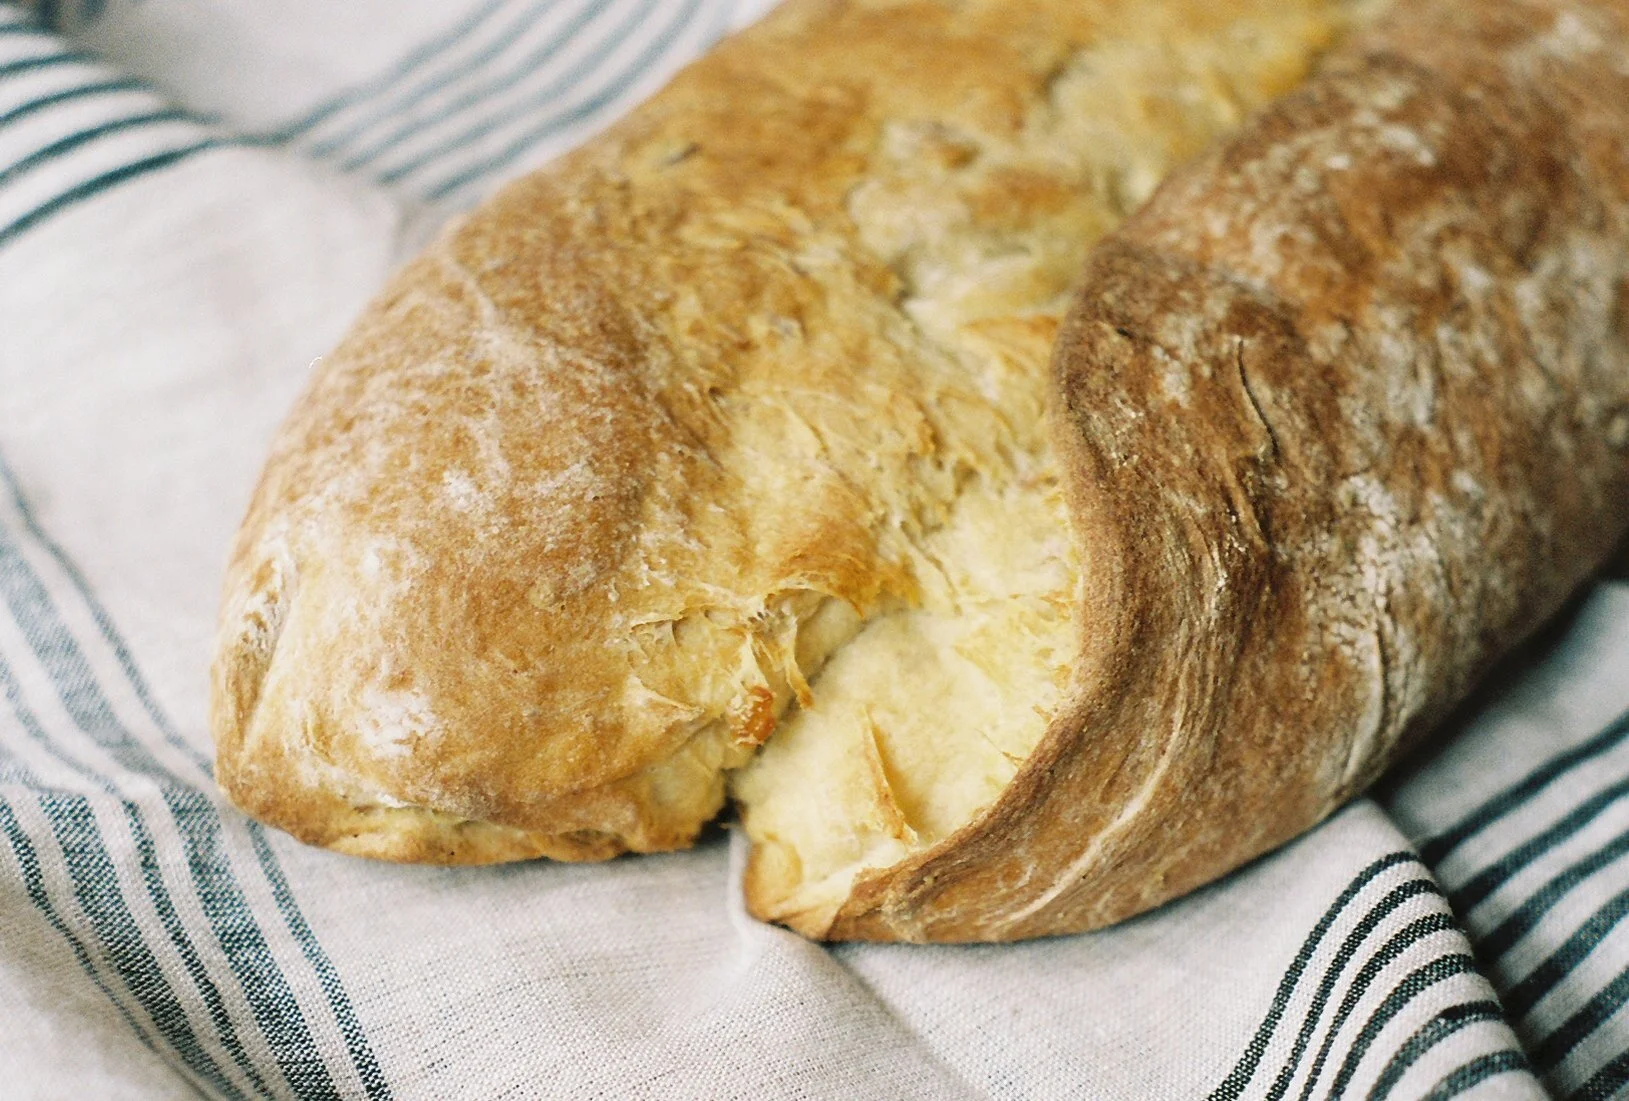
Rustic Potato Bread
/
After college I spent a brief stint making lattes at an upscale grocery store in Seattle. I worked early, early mornings with a few fun gals and one very crazy guy, learned all of my regulars' drink orders and got to taste bread from all of the best bakeries in town. It wasn't a terrible way to spend my transition from college to real life but after about six months I had my fill and was on to bigger and better things, namely moving to New York. Now there's no shortage of delicious bread in NYC, but when I am missing home and needing a little comfort I whip out my
cookbook and make my favorite bread from my latte days.
Rustic Potato Bread
adapted from the
Macrina Bakery & Cafe Cookbook
yield one (seriously) large loaf
1 1/4lbs russet potatoes (about 2 medium potatoes)
1/2c potato liquid (reserved from Step 1)
1T kosher salt
1 1/2t yeast
2T olive oil
3C flour (plus 1 cup for kneading)
1. Clean the potatoes thoroughly and cut into chunks. Put the potatoes, along with 1t of the salt in a pot and cover with water. Bring to a boil, then cook the potatoes for about 10 min or until they are fork tender. Drain the potatoes and reserve 1/2 of the liquid. Let the potatoes and liquid cool for about 20 min.
2. In a small bowl or measuring cup, dissolve the yeast in the lukewarm potato water and let stand 5 min.
3. In the bowl of a stand mixer, using the paddle attachment, mix the cooled potatoes for about 1 min. Add the olive oil and mix for a minute more, then add the potato water and yeast mixture and mix until completely combined.
4. Switch to the dough hook attachment and add the 3C of flour and the remaining 2t salt. Mix on low to incorporate the flour, then increase the speed to medium and knead for 11 min OR if you are like me and are afraid that bread dough will kill your kitchen aid, knead by hand for 10-15 min. The dough will start out very dry and shaggy, but will become soft and sticky as you knead. I usually end up adding 1/2-3/4c more flour to the mixture as I am kneading. You want the finished dough to be smooth and tacky, but not sticky.
5. When the kneading is finished, form the dough into a ball and place into a lightly oiled bowl and cover with plastic wrap or a clean cloth. Set the dough in a warm spot to rise for about 45 min or until the dough is almost doubled in size.
6. Once risen, turn the dough out onto a floured surface and gently flatten and form it into a rectangle about 10'' wide with your hands. Then, roll the dough into a tight log, leaving about 1'' of dough on the end. Use your fingers to flatten this bit of dough and dust it with flour. This will create a decorative top and allow the steam to escape from the loaf while baking. Wrap the loaf, seam side down in a floured kitchen towel and let it proof for 45min. This recipe makes a HUGE loaf of bread, so you might want to split it and make two smaller ones.
7. While the dough is proofing, preheat your oven to 400º and fill a cup with 1/2c water. Carefully unwrap the loaf and place it, seam side up, on a baking sheet. Slide the baking sheet into the hot oven, then toss the water into the bottom of the oven and quickly shut the door. The burst of steam created will give the finished loaf a nice crispy crust. Bake the loaf for about 45min or until it is golden brown and sounds hollow when tapped on the bottom. Let cool before slicing.
Notes:
Don't be tempted to peel the potatoes! The skins give the bread really great flavor and texture. Before I got the Macrina cookbook I thought the little flecks in the bread were some variety of delicious herb that I just couldn't place. That said, if you wanted to fancy this recipe up with a bit of thyme or rosemary it would probably be pretty tasty.
I've never tried, but I think this recipe would make a pretty outstanding sandwich loaf (or two) so try it out and let me know how it goes.


