Nibby Bittersweet Brownies

nibby-bittersweet-brownies_6798753594_o.jpg

I never know what to say when people ask about my favorite thing to bake. I usually just spout out the first thing that comes to mind because the truth is, I don't have an answer, I love it all. I enjoy the time, technique and concentration it takes to put together a layer cake or multi component dessert, but I also love how easy it is to throw together a batch of cookies or a pan of brownies. Especially these brownies that have caused men and women all over the country to declare them the best ever. I'm not one for hyperbole, but I can say that I've baked a lot of brownies and these certainly are my brownie ideal. They are dark and fudgy with a crackly top and a little crunch from the cacao nibs and they ship really, really well if you have some far away friends in need of a pick me up. Have a great weekend you guys!

Nibby Bittersweet Brownies

adapted from Alice Medrich

8oz chopped bittersweet chocolate

3oz unsalted butter, cut into pieces

1c sugar

3 eggs

1t vanilla extract

heaping 1/4t salt

1.75 oz (1/3c plus 1T) flour

1/4c cacao nibs (optional)

1/2t flaky salt to sprinkle on top (optional)

Preheat oven to 350º and line the bottom and sides of an 8x8 or 9x9 pan with foil and grease lightly

1. Put the chopped chocolate and butter in a heatproof bowl over a saucepan of simmering water, stir occasionally until the chocolate and butter are completely melted.

2. In a separate bowl whisk together the sugar, eggs, vanilla and salt until the mixture is lighter in color, about 3min.

3. Pour the melted chocolate mixture into the eggs and whisk to combine, then fold in the flour and 2T of the cacao nibs. Pour the batter into the prepared pan and sprinkle with the remaining 2T of cacao nibs and flaky salt if desired. Slide into the oven and bake until a toothpick inserted into the brownies comes out clean, 25-30min. Cool completely before cutting into squares.

p.s. I love eating these brownies cold, straight from the fridge.

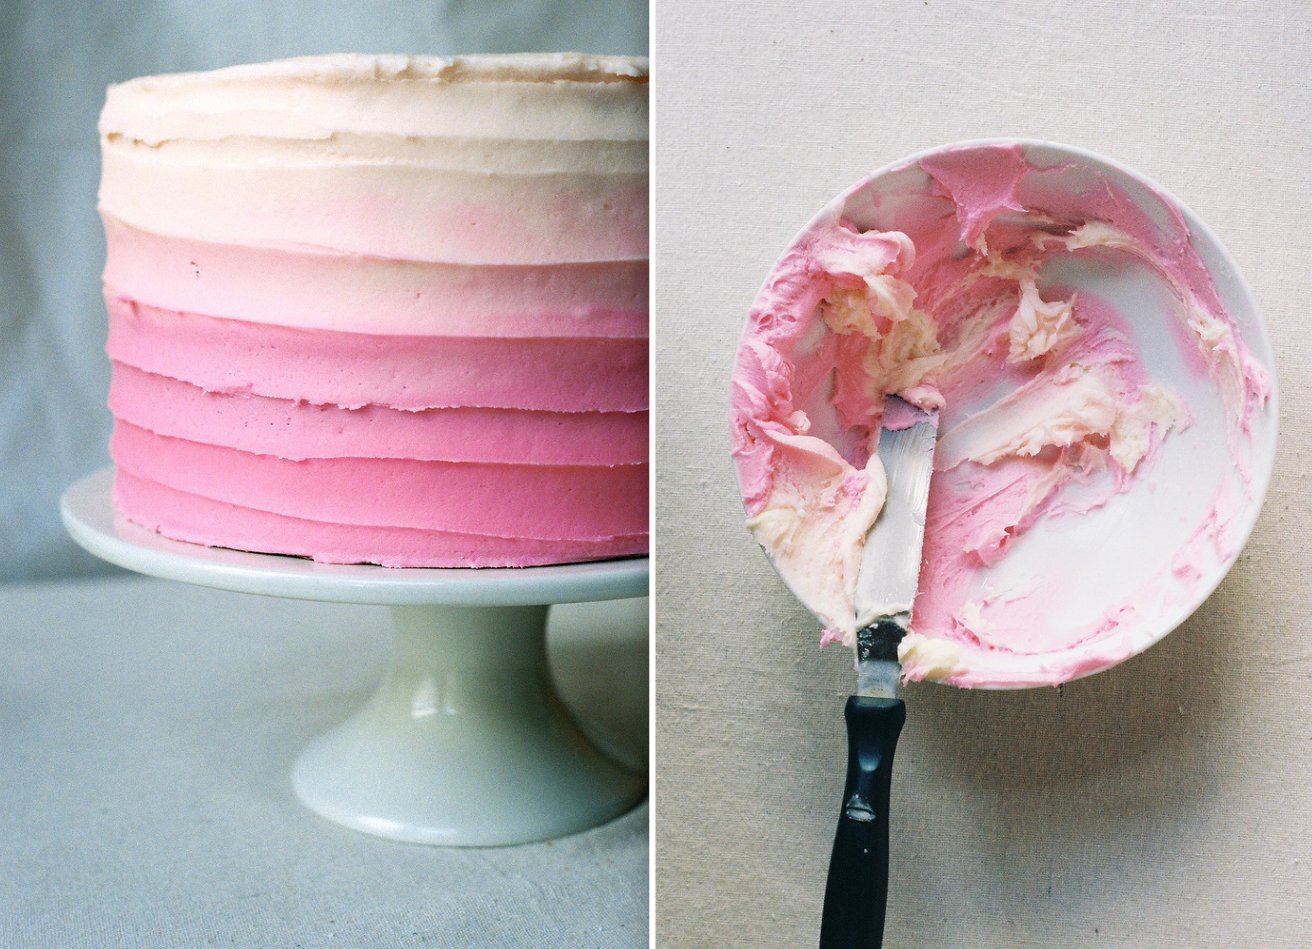
p.p.s. Thank you so much for the enthusiastic response to my Ombre Cake, in just 2 days it is already the most popular post on the blog, by a long shot.

I'll Bake You a Cake

ombre-cake_6938403397_o.jpg
ombre-cake_6938759243_o.jpg

I sent my brother and his wife a package today. For their new little ones, I’ll make birthday cakes like this one every year even if I am not with them because that's what I do. I know first impressions are everything so I made this one tall and pink and carefully constructed to make sure they know their aunt is no slouch.

Almond Cake

adapted from Martha Stewart

1 1/2c, 3 sticks, softened butter

9oz almond paste, room temperature

1 1/2c sugar

6 eggs

1/2t vanilla extract

1 1/2c cake flour

3/4t baking powder

1/2t salt

Preheat oven to 350º and butter and flour 2, 8'' cake pans (3'' tall works best here) If you have shorter pans, I suggest you divide it into 3 pans to prevent overflow.

1. Sift together the cake flour, baking powder and salt.

2. In the bowl of a stand mixer or with a hand mixer, mix the almond paste and sugar until the almond paste is broken up into very small pieces. Add in the butter and beat until light and fluffy, 5min.

3. Add in the eggs one at a time, then add the vanilla. Fold in the dry ingredients.

4. Divide the batter between the two pans, smooth the tops and slide into the oven. Bake until golden brown and a toothpick inserted into the center comes out clean, about 30min. Cool the cakes in the pan for 10min, then carefully invert on a cooling rack and cool completely.

5. Once cool, trim each cake flat on the top, then in half horizontally. You will have 4 layers of cake when you are finished. If you baked the cake in 3 pans, just trim the tops flat.

Simple Vanilla Buttercream

1 lb softened butter

2 lbs sifted confectioner's sugar

1T vanilla extract

1/4-1/2 cup room temp milk

big pinch salt

In the bowl of a standing mixer or with a hand mixer cream the butter until it is well mixed, about 1 min. Gradually add in the sugar and beat until very light and fluffy, about 5 min. Add the salt and vanilla extract. Slowly stream in the milk until the frosting is soft, smooth and spreadable. If you plan on finishing the cake with an ombre design it is helpful if the frosting is very soft, but not runny at all. 

To Assemble the Cake

Trimmed Cake Layers

Vanilla Buttercream

12oz of

cherry jam

(raspberry or apricot would be great too)

Cake Turntable (not necessary, but SO helpful)

Check out this set of photos on flickr to accompany the instructions below

1. Anchor the first layer of cake to the turntable with a bit of buttercream. Spread a thin layer (about 1/3c) of buttercream on the cake, taking care to leave the frosting a little thicker on the edges to make a dam to hold the jam. Top the buttercream with a few tablespoons of jam and top with the next cake layer. Repeat until you use all of the cake layers finishing with the flat bottom of the last cake layer facing upward.

2. Crumbcoat the cake with a thin layer of frosting on the top and sides and refrigerate for at least 30min.

3. While the cake is chilling, prepare the colored frosting. Split the remaining frosting into 4 bowls, tint three of the bowls dark, medium, and very light pink using food coloring. I use gel food coloring and use VERY little even for the darkest frosting. Leave one of the bowls white for the top of the cake.

4. Starting at the bottom of the cake with the darkest color, use a small offset spatula to apply frosting to the bottom 3rd of the cake, then follow with the medium color in the center of the cake and the lightest color towards the top. Top the cake with white frosting to finish. Using a tall spatula, smooth the frosting on the sides as much as possible, don't worry if the colors mix together a little bit, but try not to smoosh them together. Smooth the top.

5. Finish the cake by holding the tip your offset spatula horizontally, pressing gently on the frosting at the bottom of the cake. Smoothly spin the cake turntable while simultaneously dragging the spatula up the side of the cake, stop when you get to the top. Wipe the spatula clean, then gently press the tip of the spatula into the middle of the top of the cake and spin the turntable while simultaneously dragging the spatula towards the outside of the cake.