
Fancy Jello Mold
/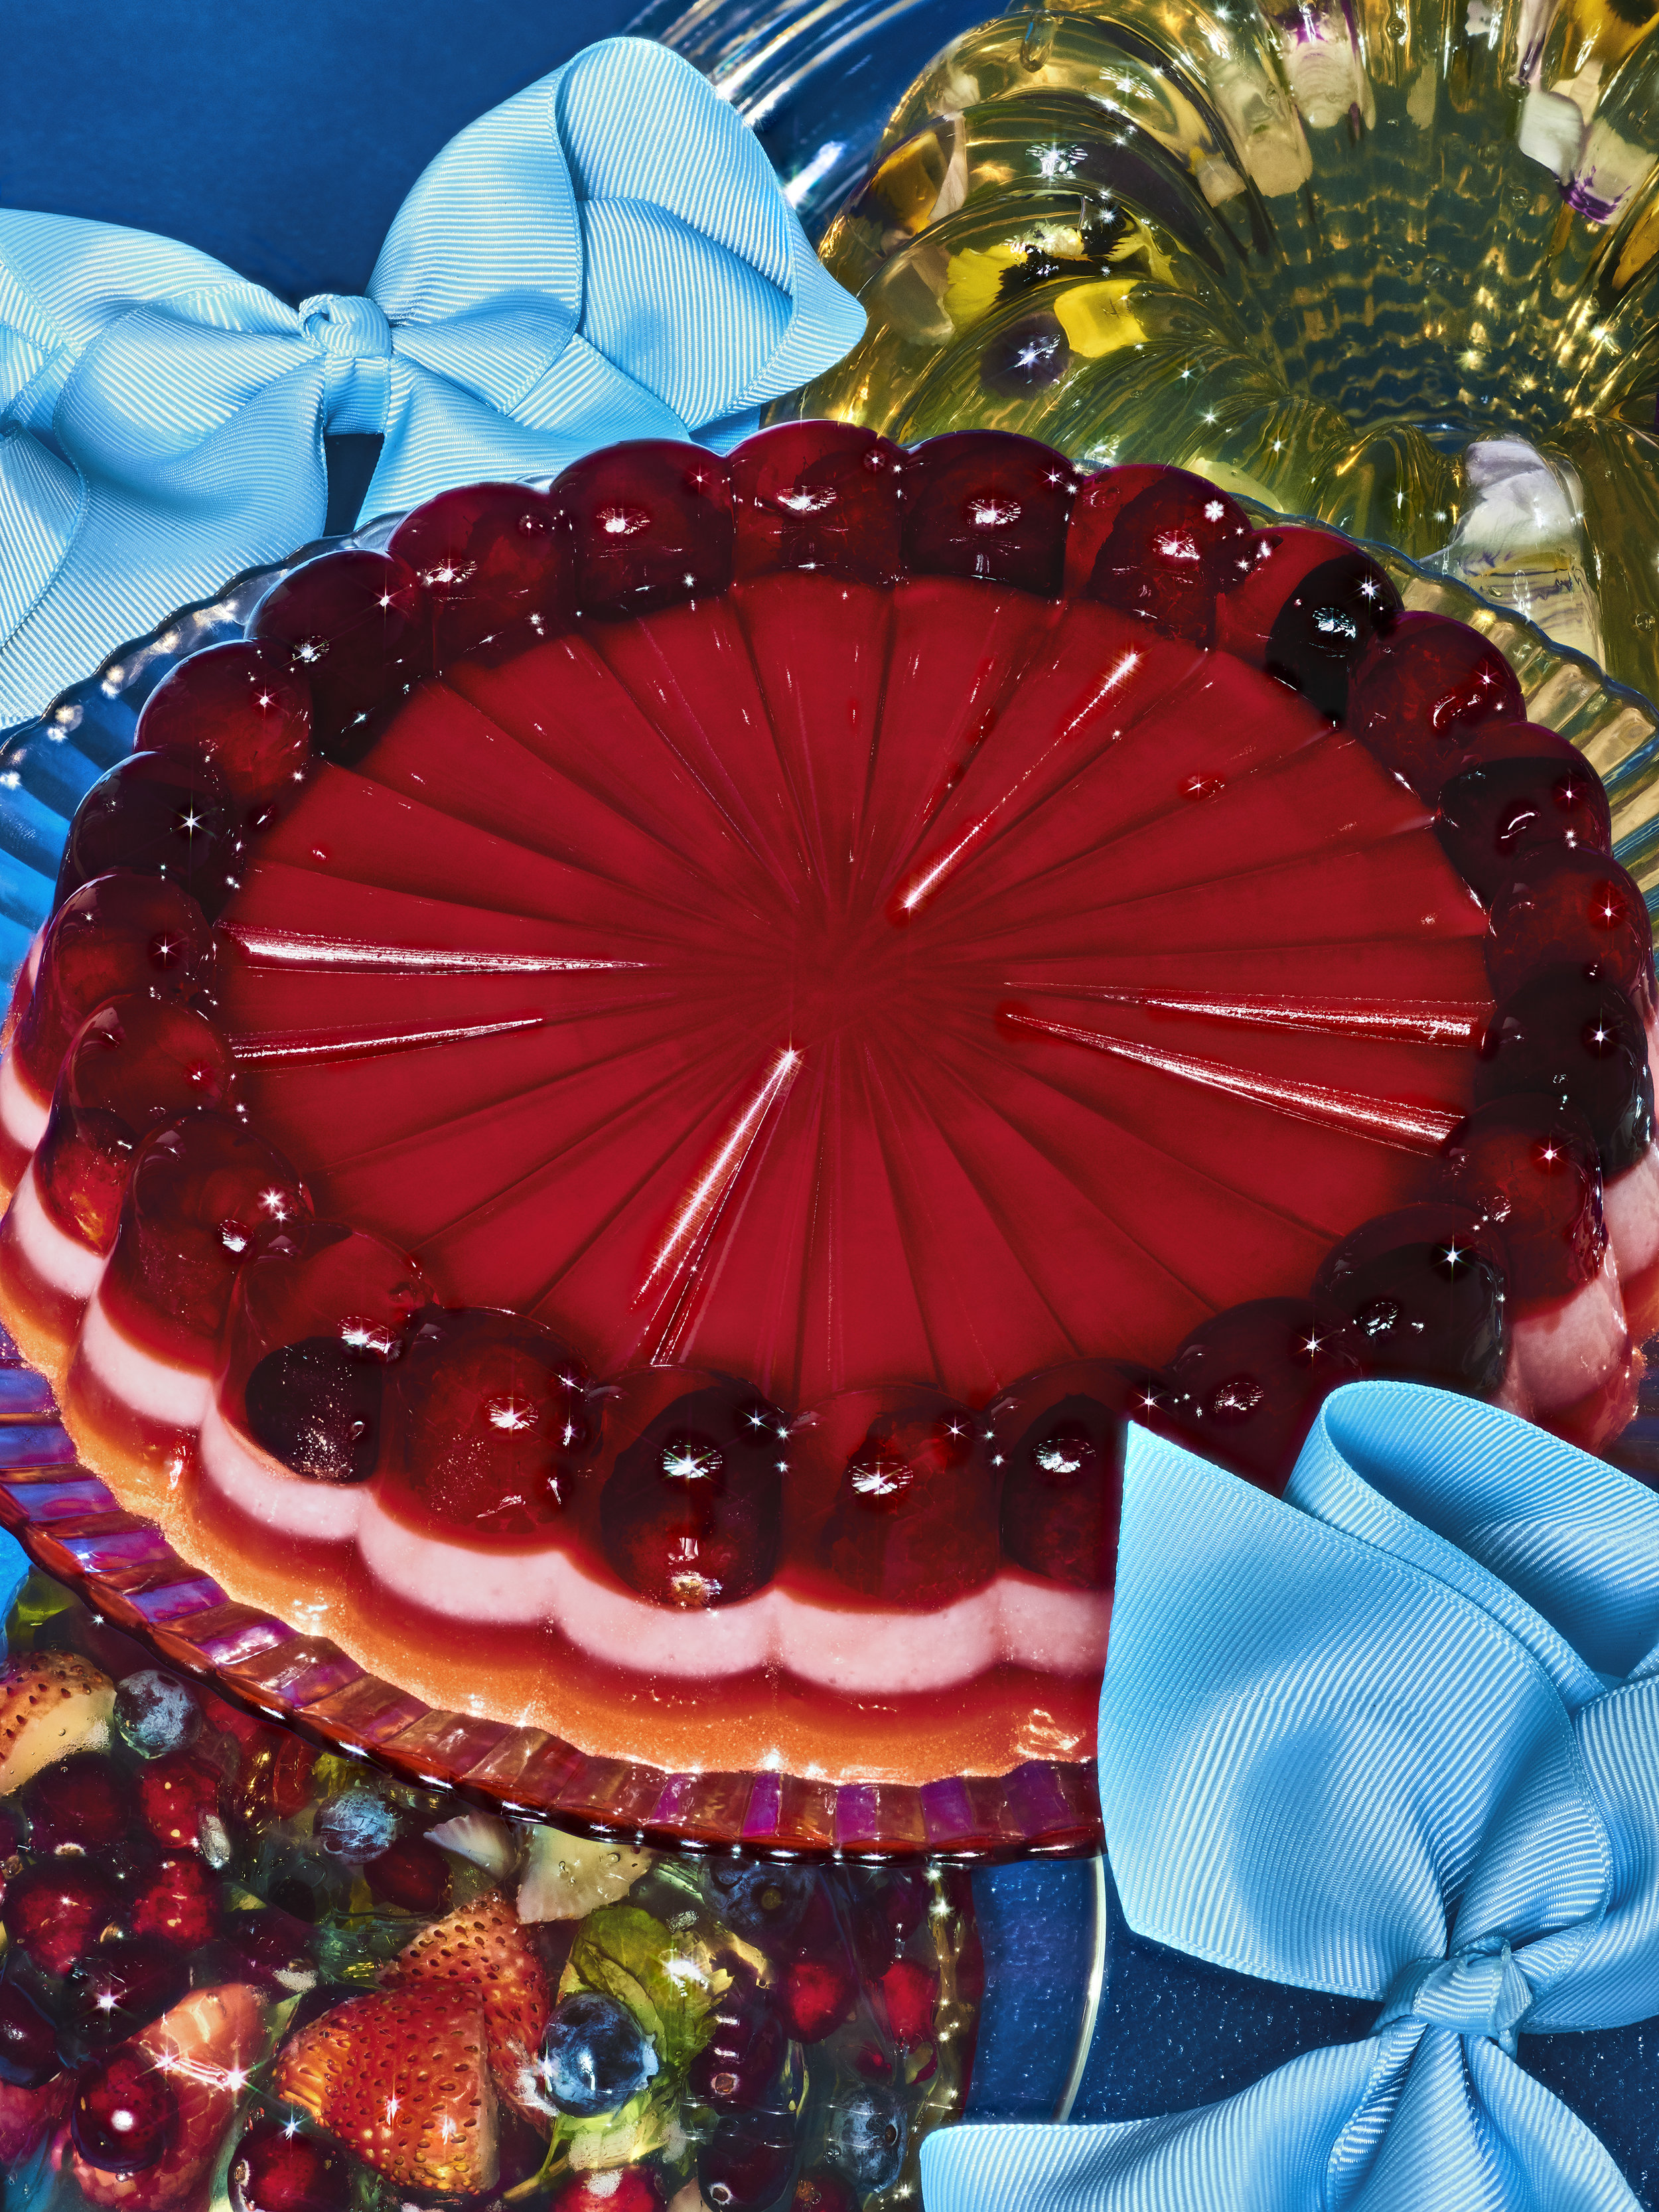
Photo: Joe Lingeman for NYMAG
I don’t know about you guys, but I think jelly molds are ready for a comeback. Or are they already back? I’ve seen them popping up here and there, and I have made a surprising number of them for photoshoots this year. I have totally fallen in love with their kitchy vibe and stunning colors. They can be totally delicious too! NYMag agrees and they asked me to create a gift worthy jelly mold for their annual gift guide which is on newsstands today.
Impress your guests this holiday or bring one to a potluck and totally blow your friends minds. All you need is a fun shaped vessel – I like decorative cake pans (Nordicware makes great ones) but you could totally just use a regular glass or stainless mixing bowl, gelatin, juice, and some time. Have fun! Happy Holidays!
Fancy Jelly Mold
I used Nordicware’s Charlotte Pan for this jelly, which is super cute and the little divots on top are the perfect shape to hold a cranberry or a raspberry. If you’d like to make a larger jelly mold you can double or triple this recipe. This jelly has some Framboise in it, but to make it more family friendly you can substitute cranberry juice for the Framboise. Pomegranate juice will also make a very tasty jelly, but it will be a bit more opaque and tart than the cranberry.
To suspend fruit in a larger mold, let the cranberry jelly mixture set until it is the texture of egg whites. At this point you can fold the fruit into the jelly and spoon it into the mold. The pictured mold uses cranberry juice, but you can also use pomegranate juice. The jelly will be slightly less clear and you will need to add 2 more tablespoons of sugar if using pomegranate juice.
For a clear jelly - Use white cranberry juice (or prosecco!) - every 3 cups of juice will need 2 envelopes of gelatin to set. You can also add a bit of clear liquor to the mix, like elderflower. Yum! If you’d like to add edible flowers, let the jelly set until it is the consistency of egg whites, pour it into the mold and place the flowers in the jelly one at a time. Make sure to arrange them to the prettiest side of the flowers is facing out because we all know this is about looks.
24 fresh cranberries
3 (1/4 ounce) envelopes unflavored powdered gelatin
3 1/2 cups cranberry juice cocktail or pomegranate juice
2 tablespoons sugar
4 tablespoons Framboise
2 tablespoons lemon juice
1/2 cup sweetened condensed milk
Food coloring (if desired)
Place 1 cranberry in each divot of the pan and set in the fridge to chill.
Bloom the gelatin. In a small bowl stir the gelatin into 1 cup of the cranberry juice. Let sit for 5 minutes, until the gelatin is moistened.
Heat 1 cup cranberry juice and the sugar until simmering. Remove it from the heat and stir in the bloomed gelatin. Stir until the gelatin is completely dissolved, warm it gently over low heat if necessary to dissolve the gelatin, but do not boil. Add the remaining cranberry juice, lemon juice, and Framboise, and stir to combine.
Divide the mixture between 2 containers (a measuring cup with a spout works great) and stir the condensed milk into 1/2 of the gelatin mixture. Keep the gelatin at room temperature as you build the layers.
Pour a thin layer of the clear cranberry gelatin over the top of the chilled cranberries in the mold, just to cover the cranberries and the bottom of the mold. Chill until completely firm, about 30 minutes. After it has chilled, gently pour 1/2 of the condensed milk gelatin mixture over the top and refrigerate until completely firm, about 30 minutes.
At this point, if you’d like the finished mold to be more colorful you can add food coloring to the remaining batches of gelatin. I tinted the bottom layer of the pictured mold with a tiny bit of orange.
Pour a layer of the cranberry gelatin over the chilled condensed milk gelatin and refrigerate until firm. Finish with the last layer of condensed milk gelatin and chill until completely firm, 4 hours or overnight. If the remaining gelatin hardens in between these steps you can very gently warm it over low heat. Do not boil it or it will not set.
To unmold, dip the gelatin mold in warm water for about 10 seconds. Place a serving platter over the top and invert. The gelatin should gently fall onto the plate. If it doesn’t quickly dip it in warm water again. Slice and serve!


