Mini Cheese Danish

cream cheese danish | apt 2b baking co
cream cheese danish-0394.jpg
cream cheese danish | apt 2b baking co
cream cheese danish-0418.jpg
cream cheese danish | apt 2b baking co
cream cheese danish-0427.jpg

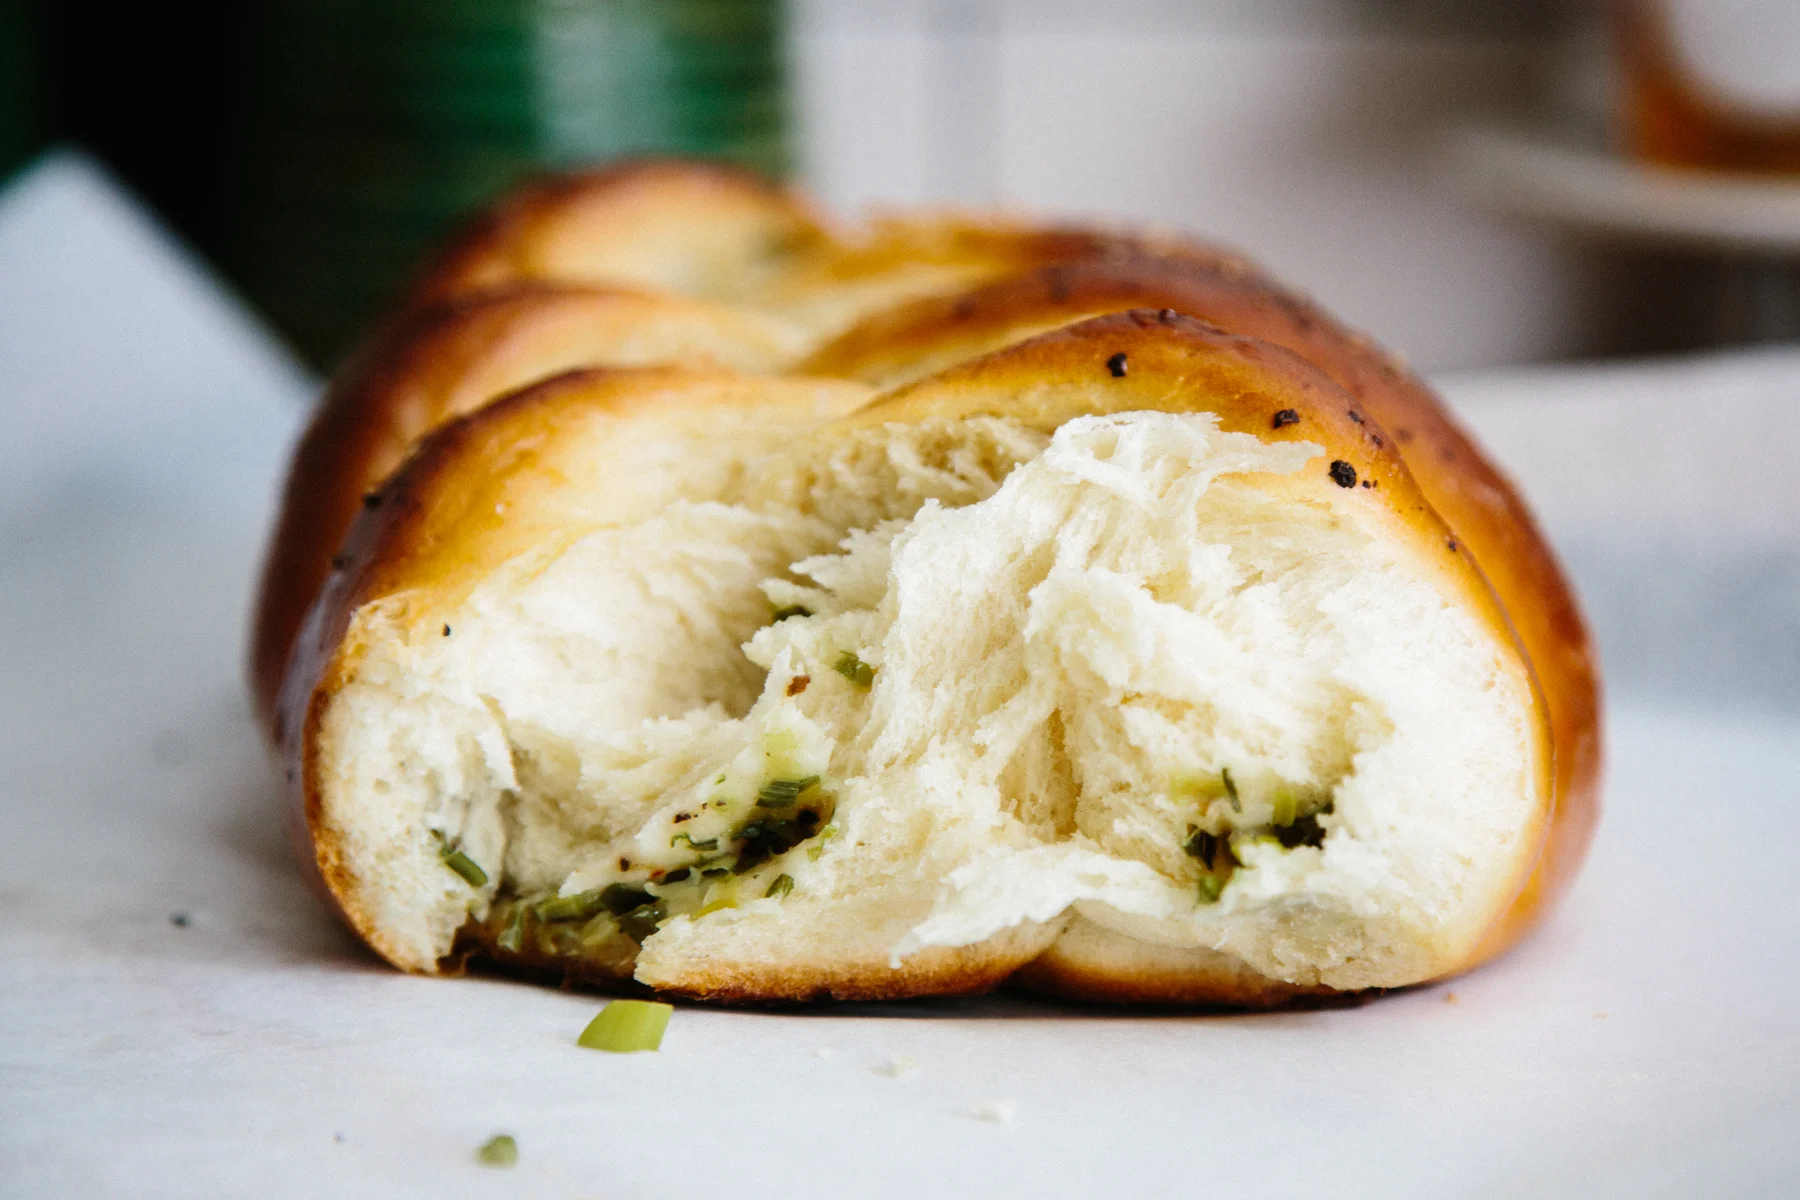
I remember hitting up the grocery store pastry case on the way out of town on family road trips and skipping over the chocolate doughnuts to head straight for the danish - cream cheese was always my favorite. Cheese Danish represent the best of all breakfast pastry worlds - crisp buttery pastry, slightly savory filling, and a little bit of sweet glaze. I kind of can't believe I hadn't made them before I found this recipe.

Danishes were always a little intimidating to me because they are made with laminated yeast dough which is time consuming to make and can be a little fussy. I have made croissants a couple of times, but honestly the time and planning it takes to make them is a total turnoff, even if the results are delicious.

But, when I spotted this recipe I knew I had to try it. It comes from Samantha Seneviratne by way of the NY Times and it is SO SMART and a lot less involved than traditional laminated yeast dough. It can also be made way ahead of time, and it's made in the food processor (no knead!) making these perfect for a brunch time treat. 


There are still a few spots available for my food and photography workshop in PARIS this Spring with Olaiya Land. Learn more here


Cheese Danish

makes 9 medium or 16 mini Danish

recipe by Samantha Seneviratne for the NY Times

The Danish dough requires quite a bit of hands-off resting time so make sure to factor that in to your plans. I made these a few times, once with labne instead of cream cheese in the filling which worked great. The filling was a bit softer than the cream cheese version, but the extra tang from the labne was a nice bonus flavor. If you've used labne, you'll need to fill the pastries a bit differently to account for the texture of the filling, instructions are within the recipe. Also, the original recipe calls to make the Danishes a bit bigger, but I loved the idea of little two-bite minis so I went for it.

1 8-ounce package cream cheese (or labne)

1 1/4 cups confectioners’ sugar

1 large egg yolk

pinch salt

1/2 teaspoon vanilla extract

1 batch Danish dough (recipe below)

1 large egg, lightly beaten

2 tablespoons milk

In a large bowl, beat the cream cheese, 1/4 cup confectioners’ sugar, egg yolk, salt and vanilla until smooth. Transfer the mixture to a pastry bag or resealable plastic bag; set aside.

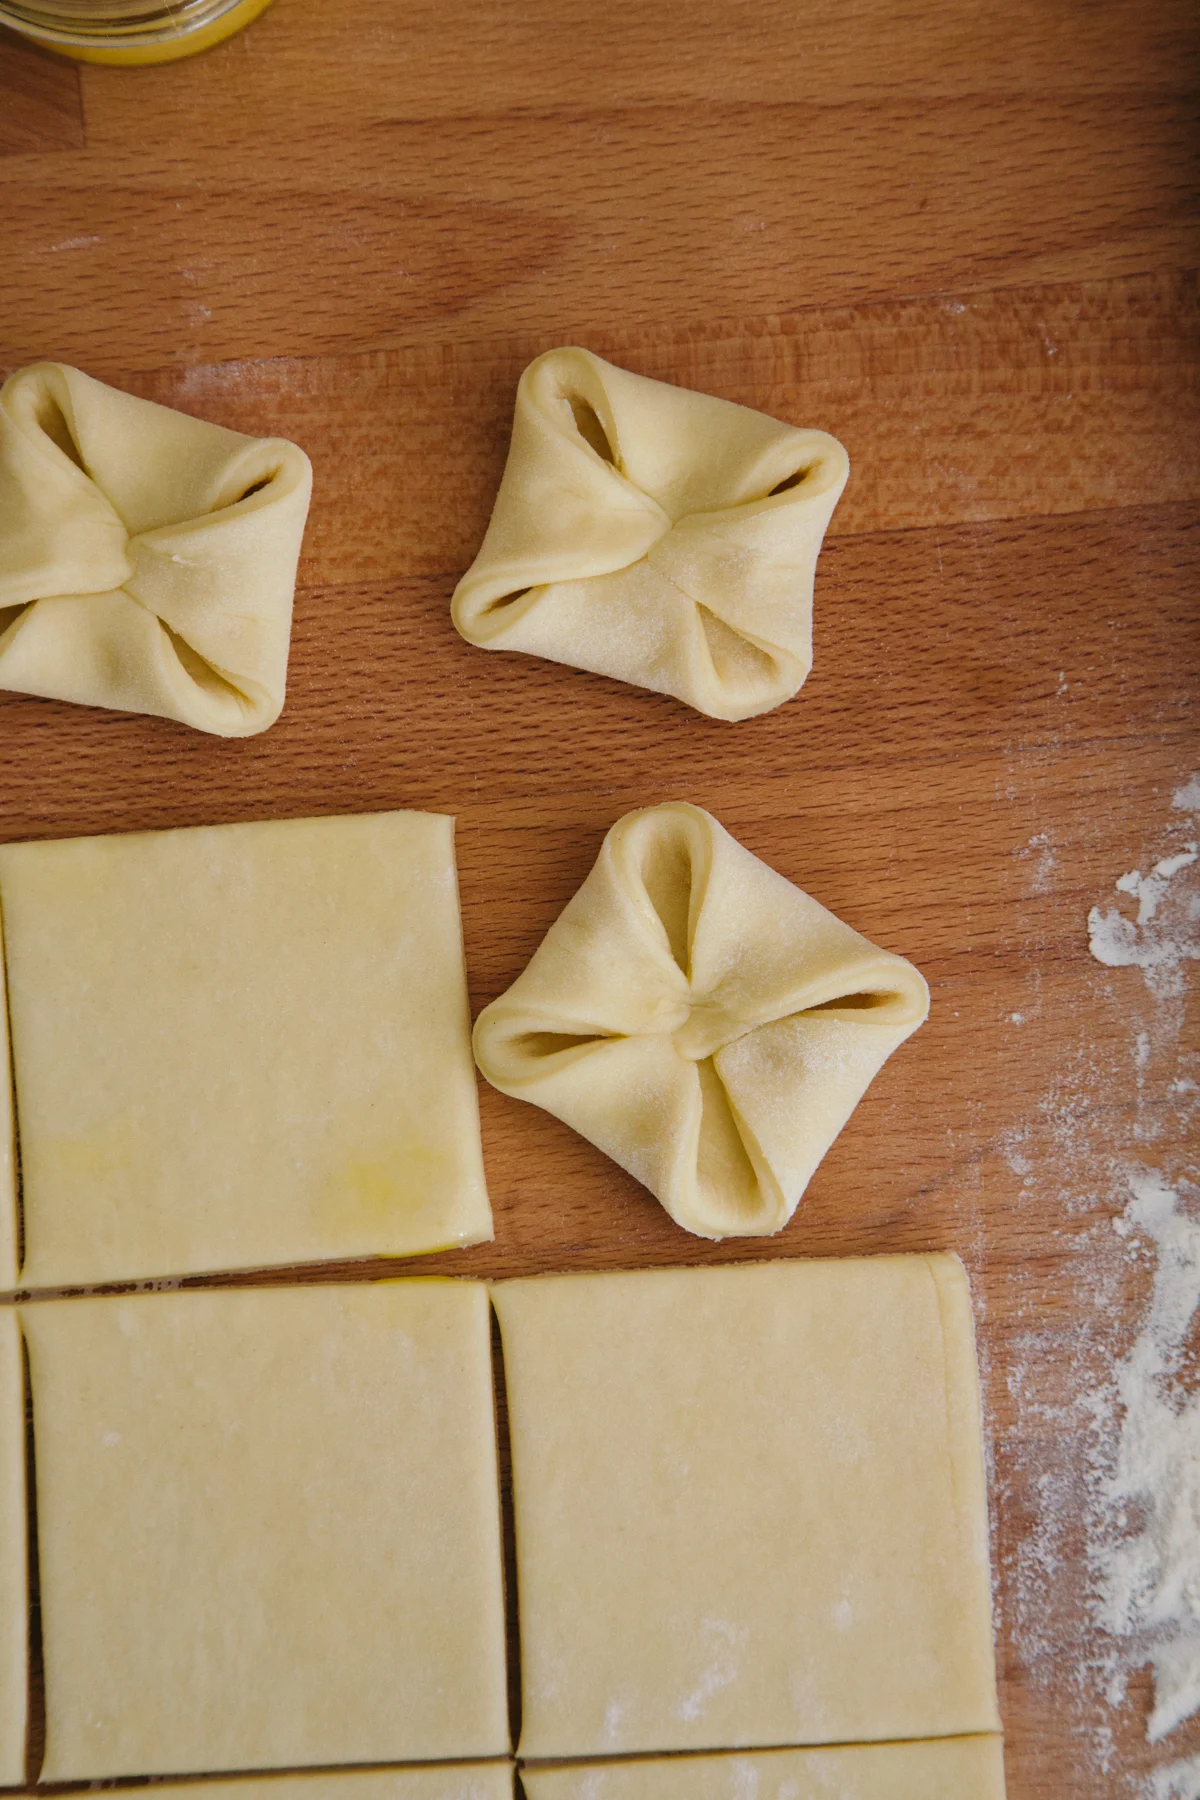
On a lightly floured surface, roll the dough out into a 12 1/2-inch square. Trim 1/4 inch off each edge. Cut the dough into nine 4-inch squares, or 12 2-inch squares for mini danish. Brush the corners of each square with a bit of the beaten egg, then fold each corner into the center and press down gently. Transfer the squares to 2 parchment-lined baking sheets.

Pipe the cheese filling onto the center of each dough square. (If you've made the filling with labne, pipe the pastries half full and reserve the rest of the filling in the fridge while they rise.) Loosely cover the pastries with plastic wrap and let stand until slightly puffed, 60-80 minutes. Heat oven to 425ºF.

Remove the plastic and gently brush the top and sides of the dough with the beaten egg. Bake for 10 minutes, then rotate the sheets and reduce oven temperature to 375 degrees. (If using the labne filling, pipe the remaining filling over the top of the half baked filling) Continue to bake until pastries are puffed and deep golden brown, another 6 to 8 minutes.

Meanwhile, whisk together the remaining 1 cup confectioners’ sugar and the milk. Let the Danish cool slightly on the sheet then drizzle with the glaze. Serve warm or at room temperature.

Danish Dough

1 1/2 cups bread flour, plus more for the work surface and the rolling pin

2 tablespoons granulated sugar

2 teaspoons active dry yeast

3/4 teaspoonkosher salt

14 tablespoons cold, unsalted butter (1 3/4 sticks), roughly cubed

1 large egg

1/4 cup cold milk

Combine the flour, granulated sugar, yeast and salt in the bowl of a food processor. Add the butter and pulse to combine. The butter should be the size of small marbles and peas. Transfer this mixture to a medium bowl.

In a small bowl, whisk the egg, milk, and 2 tablespoons water.

Add the egg mixture to the flour mixture. Using a rubber spatula, fold the mixture until it is evenly moistened. Turn the dough out onto a piece of plastic wrap, shape into a small rectangle, and wrap well. Chill for at least 3 hours, and up to 2 days.

On a lightly floured surface, using a floured rolling pin, roll the dough out to an 8-by-15-inch rectangle. With a short side facing you, fold the dough in thirds like a letter, bringing the top third of the dough down, then folding the bottom third up. Use a bench scraper to help lift and fold the dough if necessary. At this point, the dough will be rough and shaggy with visible butter pieces; as you roll and fold the dough it will come together. Rotate the dough 90 degrees. Repeat the rolling and folding process, then rotate the dough once more and roll and fold again. As you work, dust the work surface, your hands and the rolling pin with flour as necessary. Wrap the dough in plastic wrap and refrigerate for at least 1 hour.

Repeat the entire rolling and folding process one more time for a grand total of six turns. If the dough starts to fight you and become difficult to roll at any point, just pop it in the fridge for an extra rest. Wrap the dough and refrigerate for at least 2 hours, or overnight.


Molly's Scallion Pancake Challah

scallion pancake challah | apt 2b baking co

We are having another quiet weekend around these parts, complete with lots of lounging on the couch, and cozy eats. We also just got back from a SUPER fun road trip to Virginia that I can't wait to tell you about, spoiler alert - we ate a lot of good food and saw a lot of beautiful things, and Arlo is an excellent road trip companion - but after almost a week on the road, I was ready to get back to my own kitchen. This weekend's dreary weather really kicked me into action. I made baked pasta with bolognese for dinner last night, and then not so accidentally fell asleep on the couch at about 9:30. This is my 30s guys, what can I do? I love an early bedtime.

Another great thing about getting back from the road was that I have been cooking from the killer new fall cookbooks that have been stacking up on my coffee table. If you've been on the internet lately, I'm sure you've heard of the gorgeous book, Molly on the Range, by my my pal Molly Yeh, creator of the award-winning blog My Name is Yeh. It is so delightful, and so very Molly. From the fun recipes that reflect her Chinese-Jewish heritage to the adorable illustrations, thoughtful writing, and beautiful minimal photography, this book is a perfect extension of the work that Molly does on her blog and such a delight to flip through!

Molly said this recipe is basically her in bread form - Chinese, Jewish and a pretty doughy. We attacked the warm loaf with our hands and ate about half of it in one go, then enjoyed the rest with eggs for breakfast which I think would be very Molly approved. The recipe only calls for a 1/2 recipe of dough, but I figured I could find a home for a second loaf of challah so I went for it and made the whole recipe - half plain and half scallion. You should too! Molly also gives lots of other fun suggestions of what you can do with challah dough in the book. It also calls for sprinkling the dough with sesame seeds, but I was out when I went to make this...it is much cuter with sesame seeds on top :)

SCALLION PANCAKE CHALLAH FROM MOLLY ON THE RANGE

makes one loaf

from Molly on the Range

1/2 recipe dough from Basic Challah (recipe follows), made through the first rising

1 tablespoon toasted sesame oil

3 scallions, minced

Kosher salt and black pepper

Crushed red pepper

Egg wash: 1 large egg yolk, beaten with

1 tablespoon water

Toasted sesame seeds

 Preheat the oven to 375°F. Line a baking sheet with parchment paper.

Divide the dough into 3 equal parts and roll each part into a 12-inch log. Gently flatten each log so that it is about 3 inches wide. Brush each with sesame oil and sprinkle with scallions, salt, black pepper, and crushed red pepper. Roll the logs up lengthwise like a jelly roll and pinch the seams to seal. Lay the logs seam side down next to one another and pinch them together at one end. Then braid the logs and pinch them at the other end. Place the loaf on the lined baking sheet. Cover and let rise for 30 minutes.

 Brush the loaf with the egg wash and sprinkle with sesame seeds and black pepper.

Bake until the loaf is golden brown and has an internal temperature of 190ºF. Begin checking for doneness at 28 minutes. Let cool slightly and enjoy.

MOLLY'S BASIC CHALLAH

from Molly on the Range

Makes 2 loaves

4 ½ teaspoons (2 envelopes)

active dry yeast

1 ½ cups warm water

1 teaspoon plus ¼ cup sugar

6 ½ cups flour, plus more for dusting (or sub in up to 2½ cups whole wheat flour)

2 teaspoons kosher salt

4 large eggs

⅔ cup flavorless oil

¼ cup additional sweetener: sugar, brown sugar, honey, or molasses

Egg wash: 1 large egg yolk beaten with 1 tablespoon water

In a medium bowl, combine the yeast, warm water, and 1 teaspoon of the sugar and give it a little stir. Let it sit for about 5 minutes, until it becomes foamy on top.

Meanwhile, in a large bowl or in a stand mixer fitted with the dough hook, mix together the flour, salt, and remaining ¼ cup sugar. In a medium bowl, whisk together the eggs, oil, and additional sweetener.

When the yeast is foamy, add it to the dry mixture immediately followed by the egg mixture and stir to combine. Knead, either by hand on a floured surface or with the dough hook until you have a smooth and slightly sticky dough, 7 to 10 minutes, adding more white flour as necessary (but resist any urge to add too much!).

Transfer the dough to an oiled bowl, cover it with plastic wrap or a damp kitchen towel, and let it sit at room temperature until it has doubled in size, about 2 hours. (It will take slightly longer if you’re using whole wheat flour.) Alternatively, you can stick it in the refrigerator overnight and then let it sit at room temperature for about 1 hour before shaping.

Line two large baking sheets with parchment paper. Divide the dough in half and, working with half of the dough at a time (keeping the other half covered), pat the dough out into a long rectangle, roughly 3 inches by 12 inches (this doesn’t need to be exact). From this, cut 3 long and skinny rectangles and roll them out a bit to get 3 long snakes. Pinch them together at one end and then braid the snakes and pinch them at the other end. Transfer the loaf to a baking sheet and repeat with the remaining half of the dough. Let them rise, covered, at room temperature for 30 minutes.Preheat the oven to 375º F.

Brush the loaves with a thin even layer of egg wash and sprinkle with sea salt. Bake until the loaves are golden brown and have an internal temperature of 190ºF. Begin checking for doneness at 28 minutes.

Let the loaves cool until they’re jusssst cool enough that they won’t burn your mouth, and then enjoy with lots of butter.