
Naturally Dyed Easter Eggs
/
Craft projects are not the usual subject matter of this blog, but I think we can all agree that these naturally dyed easter eggs are too beautiful to not share. There are a ton of in-depth tutorials for naturally dyed eggs online and I pulled information from many them, but this tutorial from The Kitchn is a good place to start if you are new to natural dyes. Better Homes and Gardens also has a great list of foods you can use as dyes.
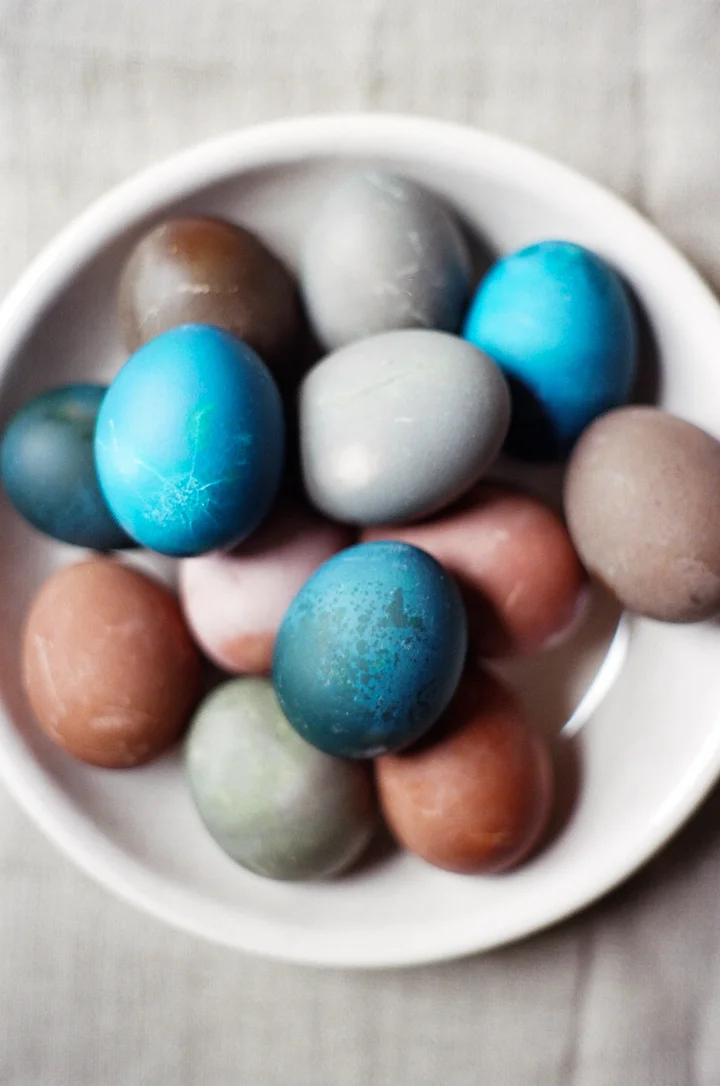


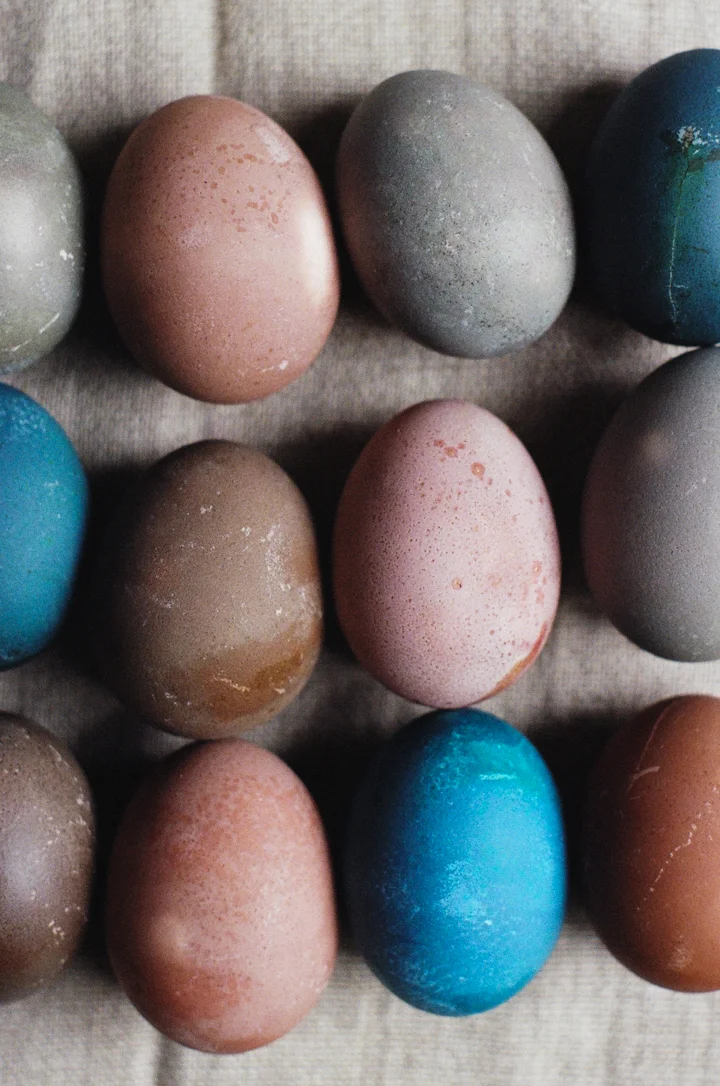
For the eggs in this post, I used three dyes: one made from shredded red beets (pink and maroon tones), one made from shredded purple cabbage (blue and green tones), and a mix of the two dyes (mauve and gray tones). I used both white and brown eggs which provided really beautiful, subtle color variations that I love. I also dyed some eggs yellow with turmeric, but the results were a bit pale so I didn't include them in these photos. You can also over-dye naturally green and blue eggs laid by Aracuna hens, which I have done in the past. The results are just stunning, but the eggs can be a bit pricey so I skipped it this year.
A quick announcement! This here blog was nominated for a Saveur Blog Award in the Best Baking & Desserts Category, and I am thrilled! Thank you to whoever nominated me! If you feel compelled, visit Saveur to vote for your favorites in all 13 categories. So many wonderful blogs (and people!) are up for awards, and I am honored to be among them.
General Method for Naturally Dyed Easter Eggs
You'll need about 1 cup of dye matter (shredded beets, shredded cabbage or check this post for more color options ) per 1 cup of water, and about 4 cups of dye per dozen eggs. Scale up or down depending on how many eggs you'd like to dye. Hot tip: Shred your beets in the sink to avoid spattering red all over your kitchen.
To prepare the dyes, combine the dye matter with the appropriate amount water in a saucepan, bring the mixture to a boil, then reduce to a simmer and cook for 15-30 minutes. Check the dye occasionally for color, you want the liquid to be a couple of shades darker than your desired finished egg color. Strain the dye into a clean container and let it cool to room temperature. Add 1 tablespoon of white vinegar per 1 cup of dye.
Meanwhile, hard boil your eggs and let them cool.
Arrange the cooked eggs in a container or containers (ideally in a single layer) and pour the dye over the top to submerge the eggs completely. Transfer the containers to the refrigerator, and let the eggs sit in the dye baths until they reach your desired color. I let my eggs sit for almost 24 hours. Remember that when the eggs dry they will be slightly lighter in color than when they are wet, like a stone picked up at the beach.
Carefully remove the eggs from the dye baths, give them a quick rinse, pat dry, and you're done! You can rub the eggs with a bit of vegetable oil to give them a sheen and enhance the color a bit if you like.
Now, who has a great recipe for deviled eggs?


