No Bake Blueberry Cheesecake

Cherries4503.jpg

In the heat of summer, I am always looking for fun low (or no) cook ways to make and enjoy a little dessert. Give me all of your icebox cakes, no bake bars, and no bake cheesecakes! No bake cheesecake has all of the rich cream cheese flavor of its baked counterpart, but it is a bit lighter in texture and so easy to make. There are no water baths to fuss with and no worry about the top splitting on you.

Cherries4398.jpg

This no bake cheese cake is a great base for all sorts of summer fruit, but it would also be delicious with caramel or chocolate drizzled over the top instead. This version uses a heap of gorgeous fresh blueberries.

Cherries4407.jpg
Cherries4412.jpg

The salty pretzel and nutty browned butter crust comes together quickly too, no baking required. It also ensures that the whole dessert is nice and balanced, and not too sweet. For a sweeter version feel free to substitute graham cracker or biscoff cookie crumbs for the preztels. You could even skip browning the butter in favor of just melting it, but the browned butter adds a ton of great flavor so I wouldn’t!

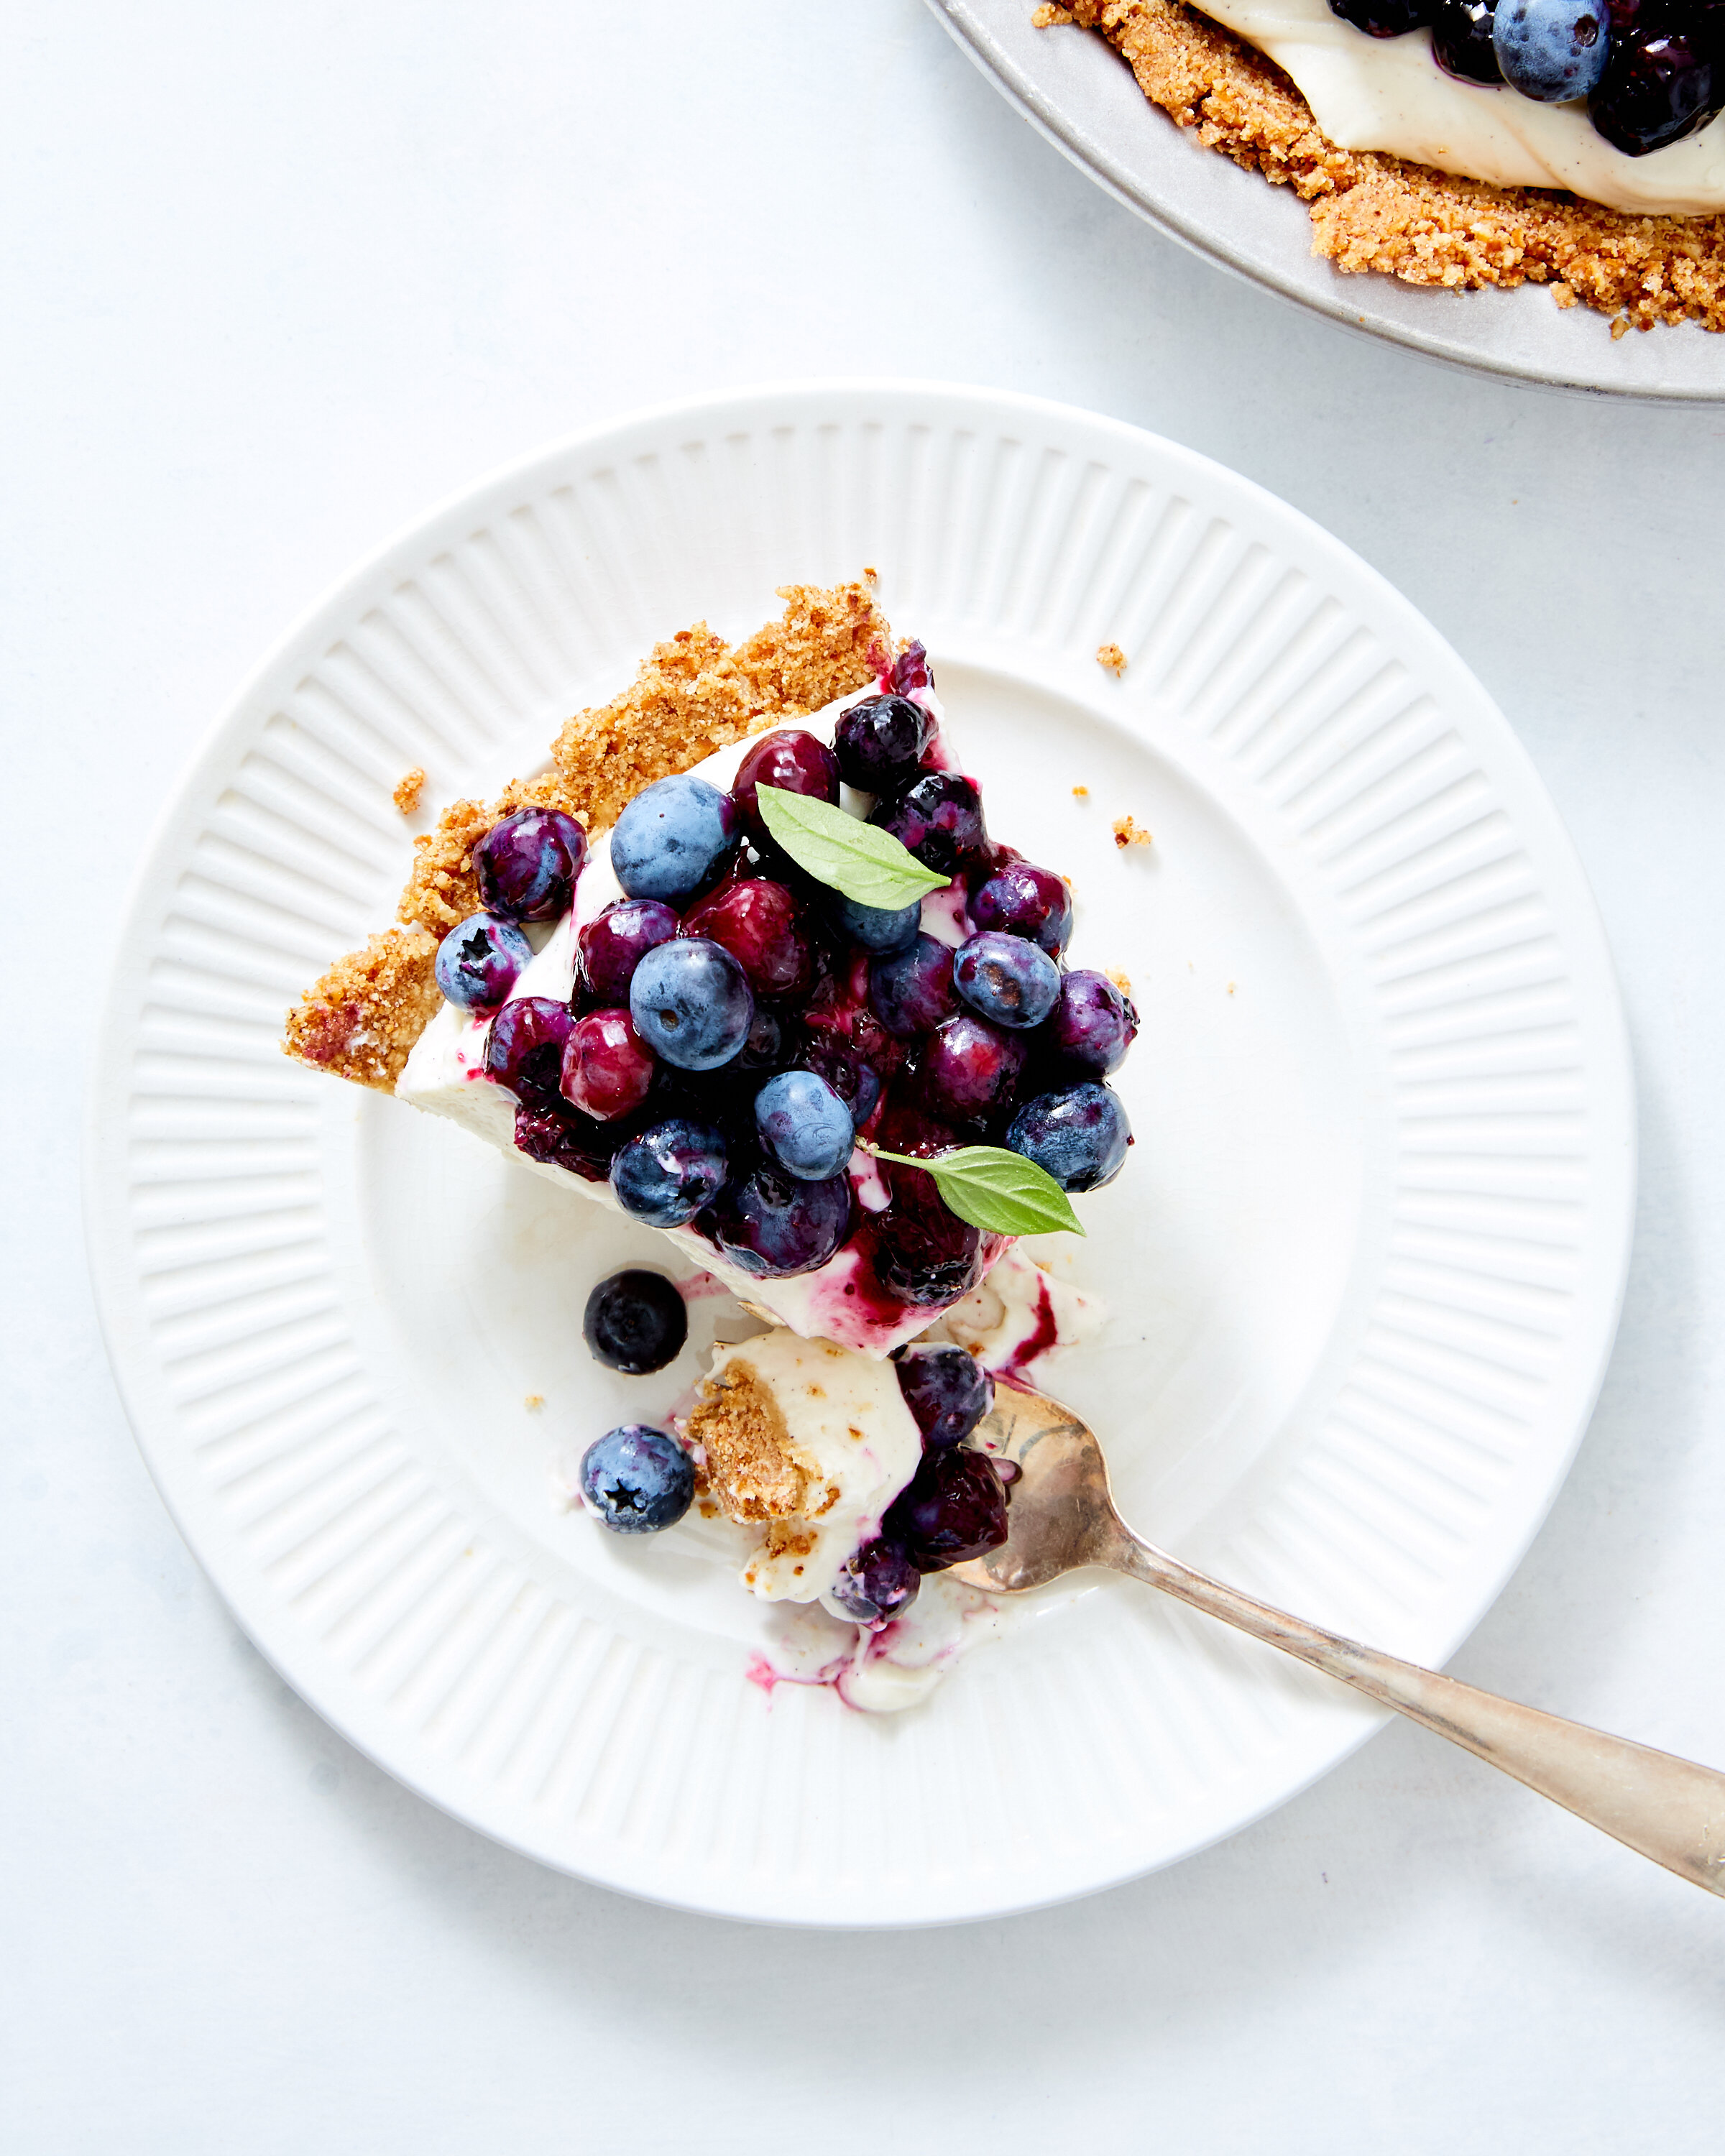
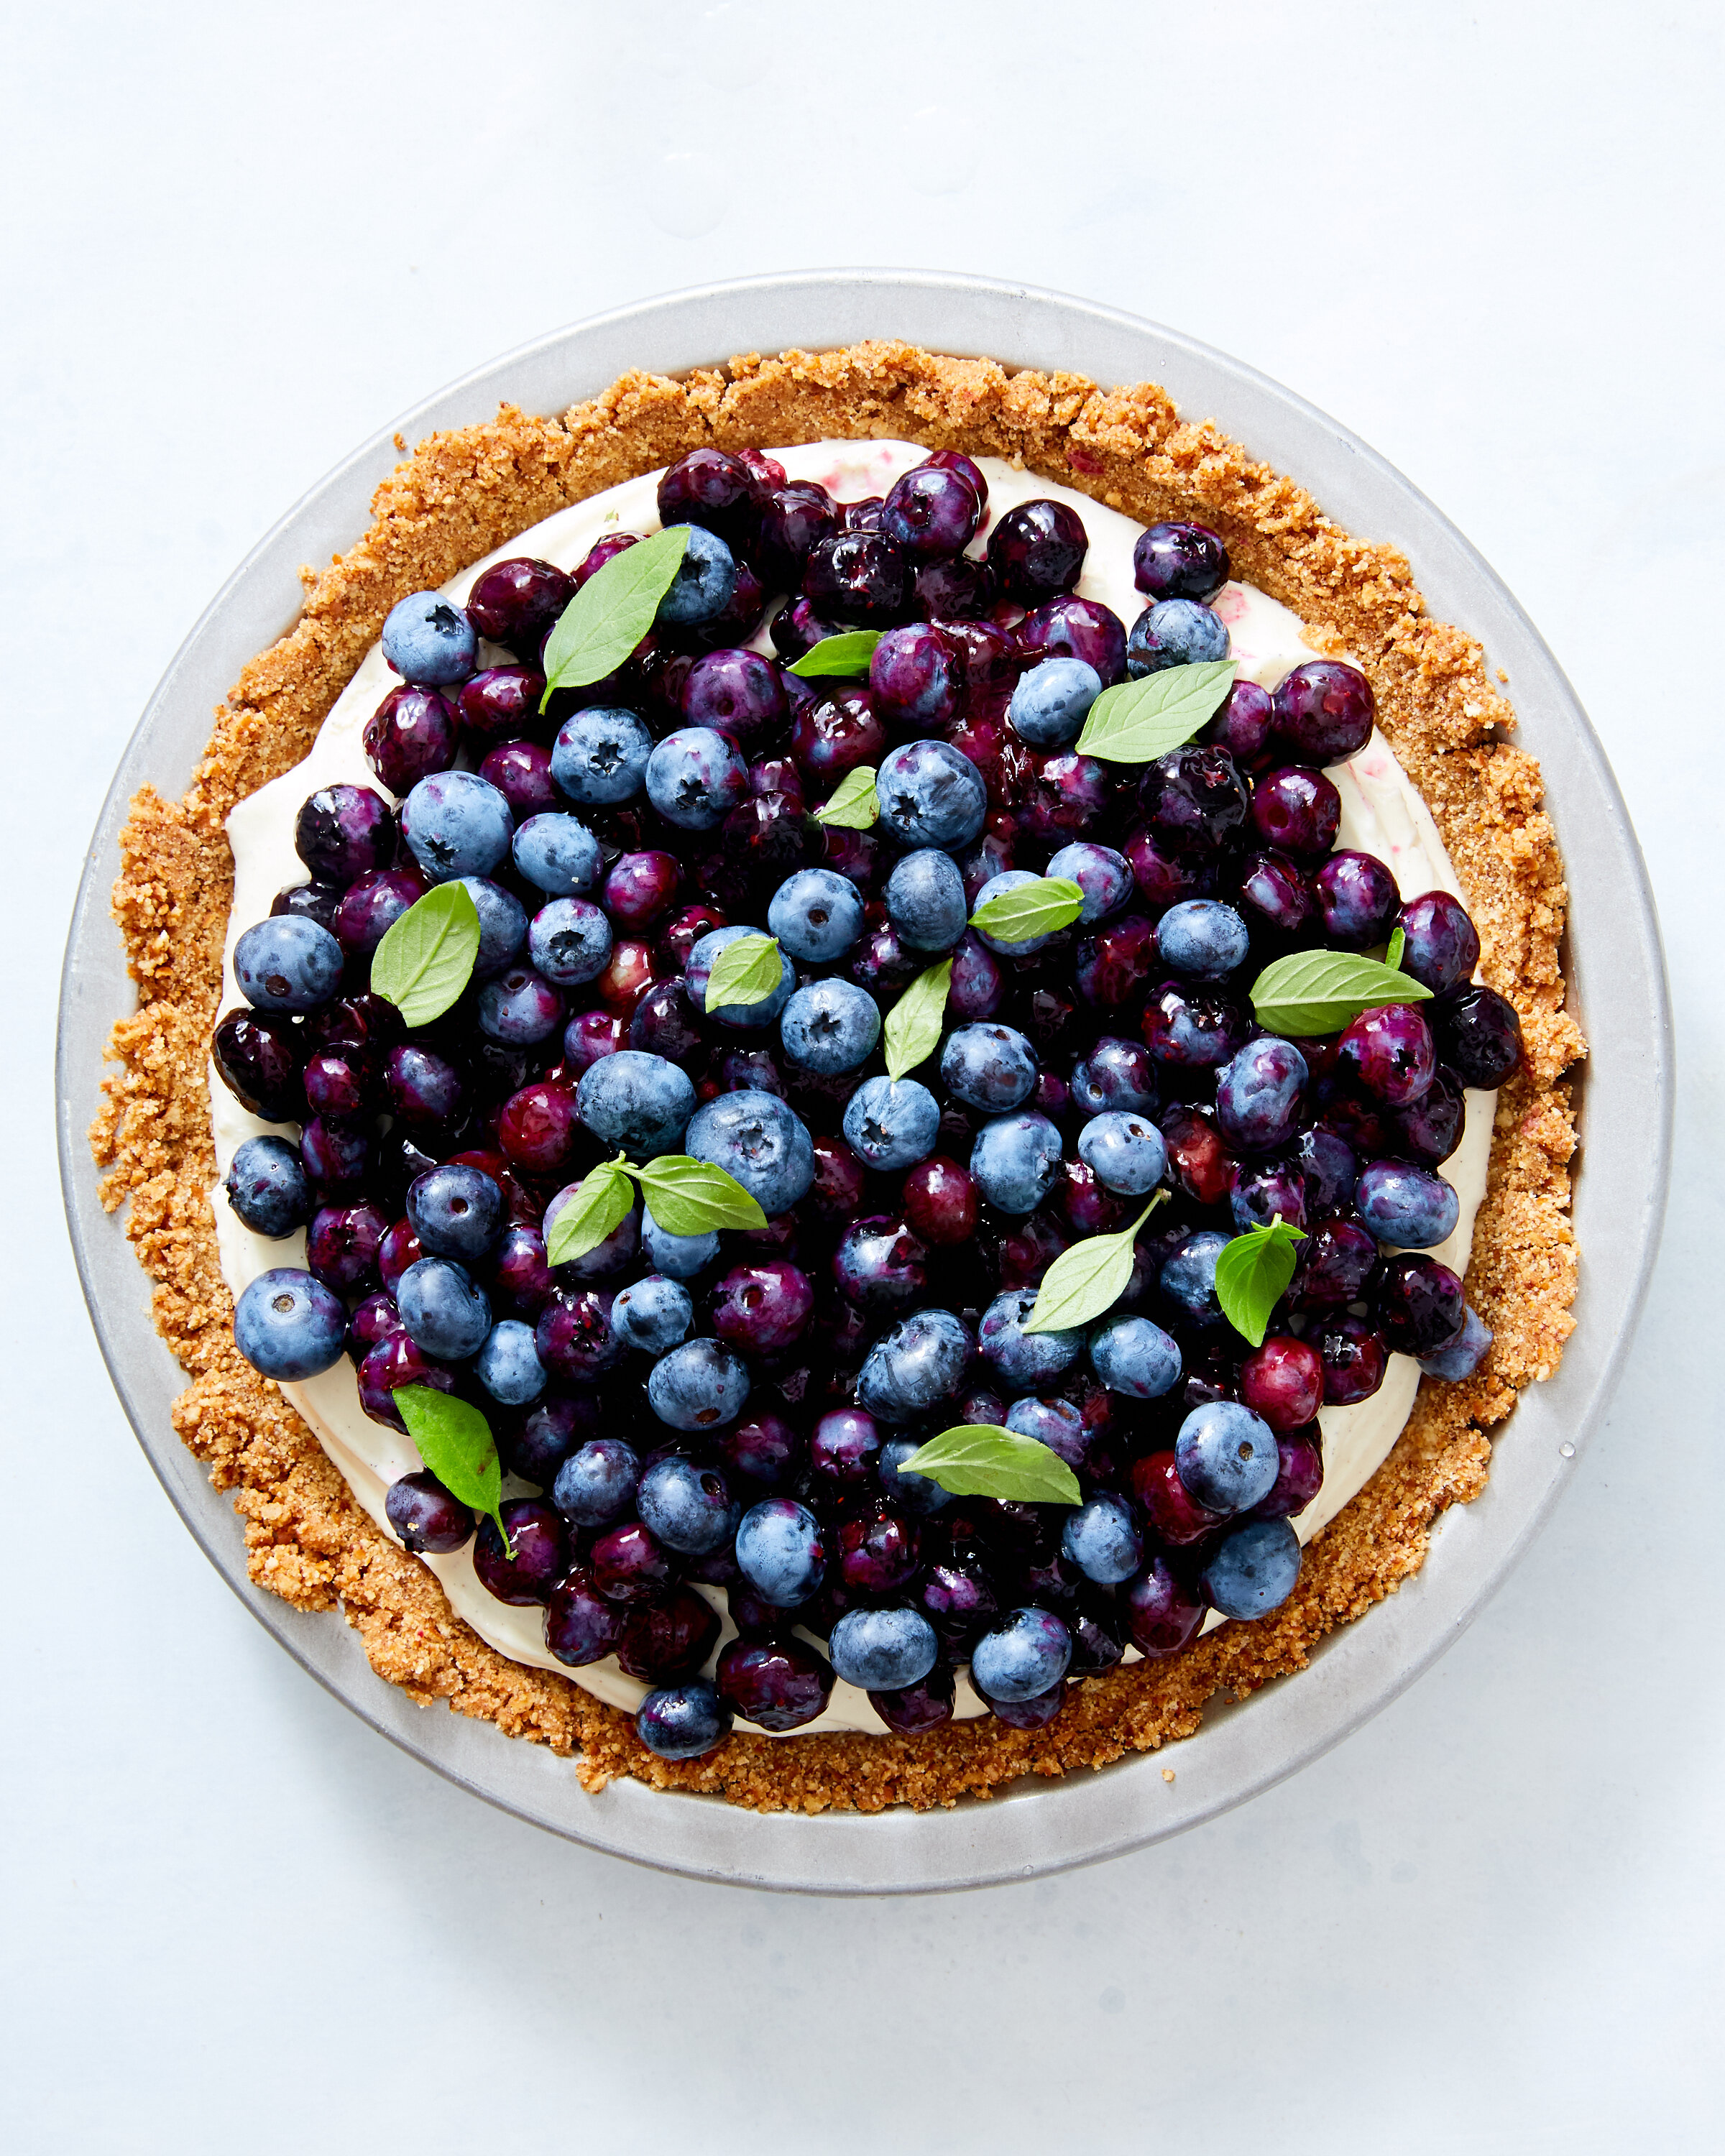
The topping is a combination of fresh and cooked blueberries, the cooked ones make it a little saucy and help the blueberries stick together instead of sliding all over the place. I topped the whole thing with a few small leaves from my basil plant that look little little blueberry leaves. Mint would work too but the herbs are totally optional.


No Bake Blueberry Cheesecake

Salty pretzels make a perfect base for this not to sweet cheesecake, but you could use graham crackers or biscoff cookie crumbs for a sweeter version - use gluten free cookies to make this desert for your gluten avoiding friends and family. The blueberry topping is partially cooked which creates some sauciness that helps the blueberries stick together, but if that’s a bridge too far for lazy summer cooking, you can just pile the top with lots of fresh blueberries. They may roll of when you slice it though!


Crust

175g/ 1 1/2 cups finely ground pretzels

50g/ 1/4 cup granulated sugar

170g/12 tablespoons unsalted butter

Filling

450g/ 1 pound cream cheese, at room temperature

100g/ 1/2 cup granulated sugar

2 tablespoons freshly squeezed lemon juice

1 tablespoon vanilla paste or extract

240ml/ 1 cup heavy cream, cold

Topping

490g/ 3 1/2 cups blueberries

1 tablespoon sugar

1 teaspoon cornstarch

Mint or basil leaves if desired


To make the crust: Combine the pretzels and sugar in a large bowl. Melt the butter in a small saucepan set over medium heat. Cook the butter while scraping the bottom and sides of the pan occasionally with a rubber spatula. The butter will foam, then the solids will turn deep golden brown and smell nutty.

Once the butter has browned pour it over the pretzels in the bowl then stir to combine. Let the mixture cool for a minute or two then pour it into a 9-inch pie pan.

Carefully press it evenly on the bottom and up the sides of the pan, a 1/3 cup measure is a great tool for this. Set the pan in the freezer while you prepare the filling.

To make the filling: In the bowl of a stand mixer fitted with the paddle attachment mix the cream cheese and sugar on low speed until combined. Turn the mixer up to medium and beat until smooth and fluffy, about 3 minutes. Scrape the bottom and sides of the bowl occasionally to ensure even mixing. 

Add the vanilla and lemon and stir to combine.

Switch to the whisk attachment and with the mixer on low, add the heavy cream. Turn the mixer up to medium high and whip until the mixture comes to stiff peaks, about 3 minutes.

Spoon the filling into the chilled crust and smooth the top. Refrigerate for about 8 hours or overnight. 

To make the topping: When you are ready to serve the cheesecake put 280g/2 cups of the blueberries in a large bowl and set aside. Combine 140g/1 cup of the blueberries, 2 tablespoons of water, and 1 tablespoon sugar in a saucepan over medium heat. Cover the pan and cook until the blueberries have burst and released their juices, about 2 minutes. 

In a small bowl stir the cornstarch with 1 tablespoon of water, slowly pour it into the blueberry mixture in the pan while stirring constantly. Bring the mixture to a simmer, stirring constantly for 45 seconds, until thick and glossy.

Pour the mixture over the blueberries in the bowl and stir to combine. Pour the blueberries over the chilled cheesecake and scatter the remaining 70g/ 1/2 cup blueberries over the top. Sprinkle mint or basil over the top and let the pie sit for a few minutes before slicing. Store leftovers in the fridge for a few days.  

Cherries4538.jpg

Chocolate Mousse Tart with Browned Butter Oat Crust | Raaka Baking Chocolate

202009_Raaka_YossyArefi4216.jpg
202009_Raaka_YossyArefi4190.jpg

One of my very favorite chocolate makers in NYC, Raaka Chocolate, is launching a new line of baking chocolate today! They are starting with two delicious varieties,  Oat Milk 58% cacao that I used in this chocolate mousse tart and Maple Dark 75% cacao. They will launch two more varieties in the coming weeks, and they have cacao powder and cacao nibs too! I got a sneak peek of all four varieties and I have enjoyed baking with (and just plain eating) these little chocolate discs so much. 

This decadent Chocolate Mousse Tart with Browned Butter Oat Crust is definitely fit for a special occasion, but isn’t too tricky to put together. The crust is the easy-peasy pat in the pan variety and the mousse is just as good on its own as it is in this buttery, crisp, toasty crust. You could even just make the chocolate mousse and skip the crust all together, but don’t skip the billowy whipped cream! 

092020_ChocolateMousseTart_YossyArefi.jpg
092020_ChocolateMousseTart_YossyArefi 3.jpg
092020_ChocolateMousseTart_YossyArefi 1.jpg
092020_ChocolateMousseTart_YossyArefi 8.jpg
092020_ChocolateMousseTart_YossyArefi 5.jpg
092020_ChocolateMousseTart_YossyArefi 7.jpg

 Raaka Chocolate is unroasted which highlights all of the natural fruitiness of cacao so it’s flavor profile might be a little different than your everyday chocolate, and it is so, so tasty. They are also a company that values the community of growers, producers, and makers whose livelihoods depend on cacao and chocolate and are very transparent about their sourcing practices. You can read all about it on their website. Let me know if you try it!

202009_Raaka_YossyArefi4252.jpg

 This post was sponsored by Raaka Chocolate.


Oat Milk Chocolate Mousse Tart with Browned Butter Oat Crust

Makes one 9-inch tart

This decadent chocolate tart is more than the sum of its parts. The toasty-oaty crust provides a perfect base for rich and decadent chocolate mousse made with Raaka’s sublimely delicious Oat Milk chocolate. The mousse is delicious on its own for gluten free folks too. 

Browned Butter Oat Crust

1/2 cup (115g) unsalted butter

2/3 cup (60g) rolled oats

1 cup (130g) all purpose flour

1/3 cup (35g) confectioner’s sugar

1/2 teaspoon kosher salt

Water, as needed

Oat Milk Chocolate Mousse

2 tablespoons granulated sugar

2 tablespoons strong coffee or coffee liqueur

3 large egg yolks

Pinch salt

4 ounces Raaka Oat Milk Chocolate finely chopped, plus a little more to garnish

1 1/4 cups heavy cream, divided

Heat your oven to 375ºF and lightly grease a 9-inch removable bottom tart pan.

Brown the butter: Melt the butter in a small saucepan set over medium heat. Make sure to use a pan with a light colored interior so you can see the milk solids change color. Continue to cook the butter, stirring occasionally, scraping the milk solids off of the bottom and sides of the pan as necessary. After a few minutes the milk solids should turn golden brown and smell toasty. Transfer the toasty browned butter to a heat safe container and let it cool slightly.

Add the oats to the bowl of a food processor and pulse a few times until the oats are broken up a bit. Add the flour, confectioners sugar, and salt and pulse about 10 times or until the mixture looks like coarse sand. Drizzle the butter into the mixture and pulse until combined. The mixture should hold together easily when you squeeze it in your hands. If it seems very dry, add water 1 teaspoon at a time until it holds together.

Pour the mixture into the prepared tart pan and press it evenly into the bottom and sides of the pan. Use the bottom of a measuring cup to make the crust smooth and even. Bake the crust until it is golden brown, 20-25 minutes. Set it on a rack to cool completely.

When the shell is cool, make the mousse. 

Whisk 3/4 cup of the heavy cream to soft peaks and store in the refrigerator while you make the rest of the mousse.

Set a heatsafe bowl over a pan of simmering water to make a double boiler. Add the sugar, coffee, egg yolks, and a pinch of salt to the bowl and whisk the mixture until it is very hot to the touch (about 160ºF), pale yellow and doubled in volume. 

Add the chopped chocolate and whisk until smooth. Off of the heat, add a heaping spoonful of the whipped cream and whisk it into the chocolate mixture to lighten it a bit. Add the rest of the whipped cream and gently fold to combine. Pour the mousse into the cooled shell, smooth the top, and refrigerate until firm, about one hour. Just before serving whip the remaining 1/2 cup cream to soft peaks dollop it over the mousse. Grate a bit more chocolate over the top and serve.

202009_Raaka_YossyArefi4176.jpg